3D walkthrough guide: Create immersive project visuals

Static floor plans and flat renderings have a fundamental problem: they ask clients to imagine space rather than experience it. A two-dimensional drawing cannot convey ceiling height, natural light flow, or the feeling of moving through a corridor. For architects and real estate developers, this gap between design intent and client understanding costs time, revisions, and sometimes deals. Immersive 3D walkthroughs close that gap by letting viewers move through a space before a single wall is built. This guide walks you through every stage of creating one, from choosing your tools to delivering a presentation-ready file.
Table of Contents
- Why 3D walkthroughs matter for presentations
- Tools, software, and prerequisites for 3D walkthrough creation
- Step-by-step process: Creating an immersive 3D walkthrough
- Troubleshooting, common mistakes, and expert enhancements
- Verifying walkthrough quality and optimizing for client presentations
- Explore professional 3D walkthrough solutions
- Frequently asked questions
Key Takeaways
| Point | Details |
|---|---|
| Choose the right software | Pick real-time tools for feedback and high-quality renderers for polished assets. |
| Follow a clear workflow | Preparing, animating, rendering, and exporting in sequence ensures reliable results. |
| Avoid common pitfalls | Optimize models and camera paths for smooth, professional walkthroughs. |
| Iterate for client impact | Use real-time previews and client feedback to refine presentations. |
| Leverage expert services | Professional rendering firms deliver advanced techniques and efficiency. |
Why 3D walkthroughs matter for presentations
A rendered image shows one moment. A walkthrough shows a story. When a client moves through a virtual space, they stop guessing and start reacting, which is exactly the kind of feedback that drives projects forward. Spatial understanding and emotional connection are the two things static visuals consistently fail to deliver, and walkthroughs solve both in a single asset.
The practical benefits for your workflow are significant:
- Design clarity: Clients grasp scale, proportion, and spatial flow without needing architectural training.
- Faster stakeholder buy-in: Decision-makers can visualize design changes before they become expensive construction revisions.
- Higher sales conversion: Interactive previews let buyers emotionally commit to a property before it exists.
- Fewer revision cycles: When clients see the full spatial experience early, ambiguous feedback like “make it feel bigger” becomes specific and actionable.
- Marketing versatility: A single walkthrough file can be repurposed as a video, a VR experience, or embedded in a website.
The impact walkthroughs have on design communication is well documented across residential and commercial sectors. Developers using immersive previews report shorter sales cycles and stronger pre-construction commitments. Tools like Lumion have made real-time walkthroughs accessible even during early design phases, meaning you can show a client a credible spatial experience at schematic design, not just at construction documents.
With the promise of more immersive presentations established, let’s see what you’ll need to begin creating your own 3D walkthrough.
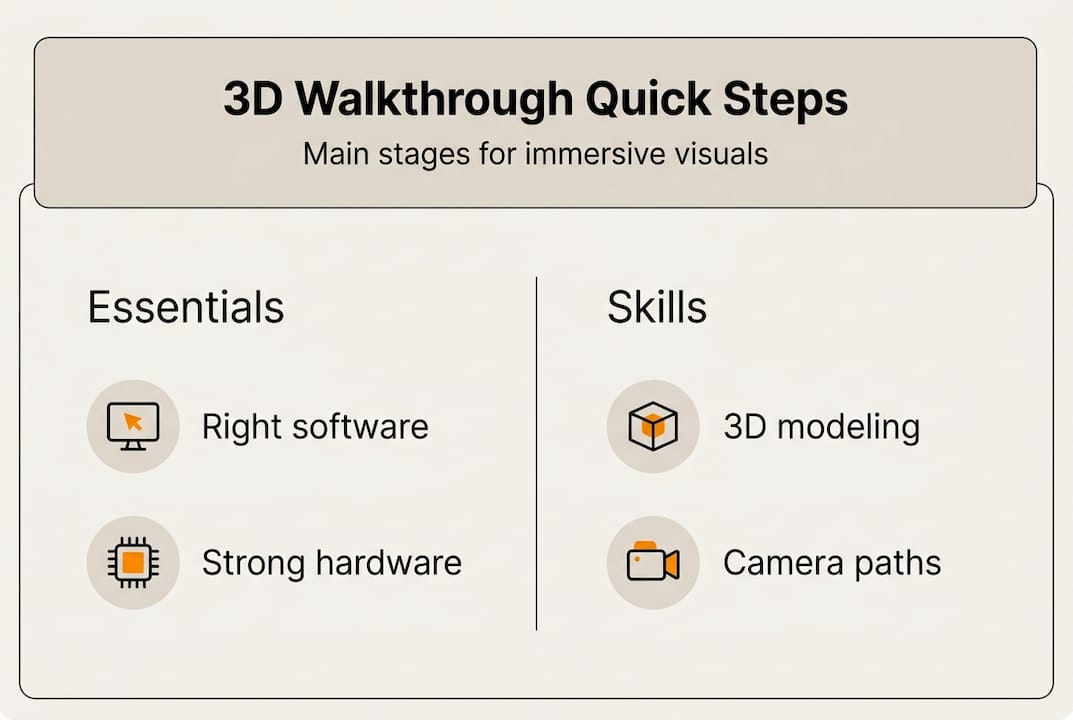
Tools, software, and prerequisites for 3D walkthrough creation
Choosing the right software is the single most important decision in your walkthrough workflow. The wrong tool creates bottlenecks; the right one fits your project type, timeline, and team skill set. Key software tools span a wide range: 3ds Max with V-Ray for premium photorealistic animations, Lumion for fast real-time rendering, Unreal Engine and Twinmotion for VR walkthroughs, Revit and SketchUp for base modeling, and Cinema 4D for motion graphics integration.
Here is a direct comparison to help you decide:
| Software | Best for | Rendering type | Learning curve |
|---|---|---|---|
| 3ds Max + V-Ray | Photorealistic finals | Offline | High |
| Lumion | Fast real-time previews | Real-time | Low to medium |
| Unreal Engine | VR and interactive walkthroughs | Real-time | High |
| Twinmotion | Quick VR exports | Real-time | Low |
| SketchUp + Enscape | Early design reviews | Real-time | Low |
| Cinema 4D | Motion graphics integration | Offline | Medium |
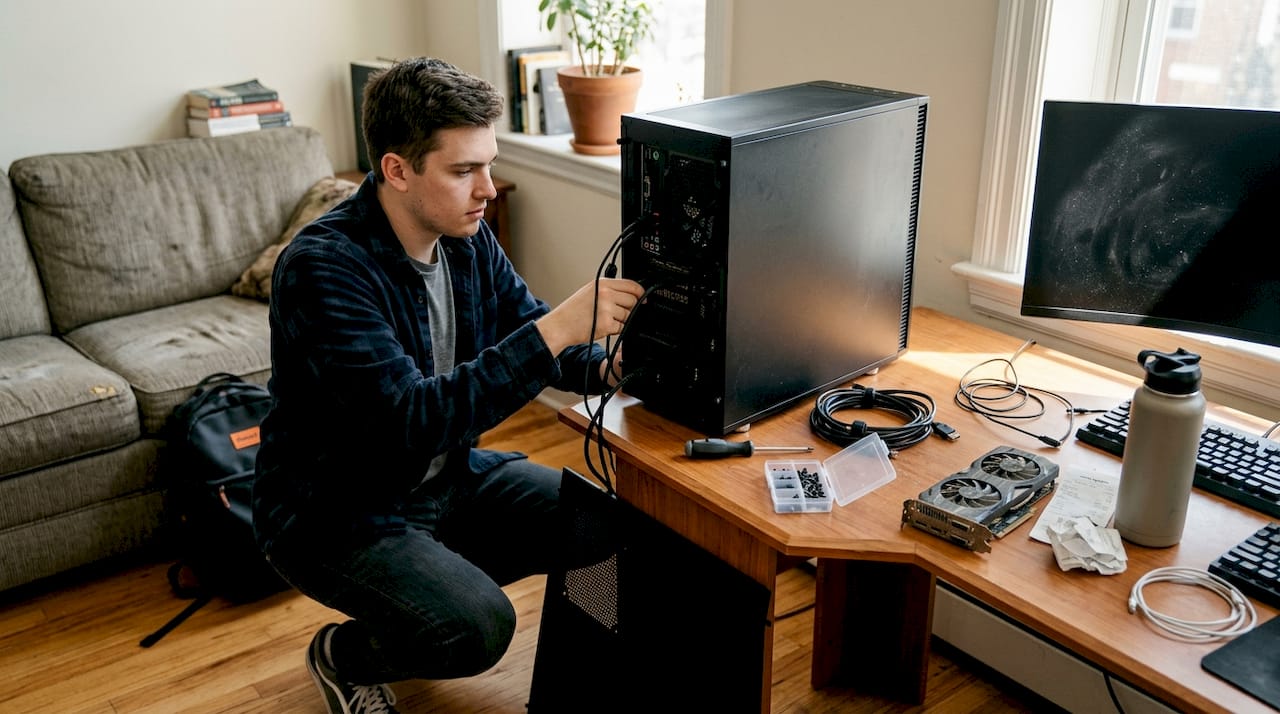
Before you install anything, check your hardware. Walkthroughs are GPU-intensive. You need at minimum a dedicated graphics card with 8GB VRAM, 32GB of RAM for mid-complexity scenes, and fast SSD storage to prevent scene loading delays. For high-resolution outputs or VR, 64GB RAM and an NVIDIA RTX-class GPU are practical requirements, not luxuries.
On the skills side, you need a working knowledge of 3D modeling, basic animation principles (keyframes, easing, camera rigs), and your chosen software’s material and lighting system. You do not need to be an animator, but understanding how a camera path works will save you hours of frustrating output.
Pro Tip: If you are presenting to clients during early design reviews, Lumion’s real-time feedback loop lets you update materials and lighting live during the meeting. That kind of responsiveness builds trust faster than any polished final render.
The walkthroughs overview at Rendimension shows how professional studios structure their tool stack for different project types, which is useful reference when you are building your own pipeline.
Step-by-step process: Creating an immersive 3D walkthrough
With the required setup clarified, let’s walk through the actual creation process step by step, complete with expert tips to streamline your workflow.
- Clean and optimize your model. Remove duplicate geometry, merge vertices, and delete hidden faces. A bloated model is the number one cause of slow renders and crashes. Optimizing your 3D model before import cuts render times significantly and prevents mid-project bottlenecks.
- Import into your rendering environment. Use native file formats where possible (FBX, DWG, or direct Revit links). Check scale on import. A misaligned scale ruins spatial perception and is tedious to fix mid-project.
- Set your camera paths. Decide between a fixed camera (smooth, cinematic, good for marketing) and a handheld camera (slight movement, human-like perspective, better for immersive client walkthroughs). Handheld camera paths create a first-person feel that fixed cameras cannot replicate.
- Animate design phases or layers. Showing how a space transforms, from structure to finishes to furnishings, communicates design intent far better than a single finished view. Phased layer animations are especially effective for stakeholder presentations where design evolution needs to be explained.
- Apply materials and lighting. Use physically based materials (PBR) for accurate light interaction. Set your sun angle to match the project’s geographic location and time of day. Interior lighting should reflect the actual fixture specification, not generic presets.
- Render strategically. Use real-time rendering for draft reviews and client check-ins. Switch to offline rendering for final deliverables. AI upscaling can reach 16K resolution, which is useful for large-format marketing assets.
- Export your deliverable. Choose the format based on use: MP4 video for presentations and social media, interactive VR file for immersive client sessions, or image sequence for post-production editing.
Here is a quick reference for render settings by project stage:
| Stage | Render type | Resolution | Priority |
|---|---|---|---|
| Concept review | Real-time | 1080p | Speed |
| Client draft | Real-time | 1440p | Balance |
| Stakeholder approval | Offline | 4K | Quality |
| Marketing final | Offline + AI upscale | 8K to 16K | Maximum quality |
Pro Tip: Build your walkthrough in segments rather than one continuous camera path. Shorter clips are easier to re-render if a client requests changes to one area, and they give you more editorial control in post-production.
For inspiration on what a finished walkthrough looks like at different quality levels, review virtual home walkthrough examples and walkthrough video examples to calibrate your own quality targets.
Troubleshooting, common mistakes, and expert enhancements
Once your initial walkthrough is rendered, the real work begins: fine-tuning, troubleshooting, and enhancing for maximum impact.
The most common problems and their fixes:
- Jerky camera movement: Usually caused by inconsistent keyframe spacing. Use easing curves (ease in, ease out) and preview at full speed before final render.
- Unoptimized models causing slow renders: Reduce polygon count on background objects, use proxy objects for vegetation and furniture, and bake textures where possible.
- Flat or unrealistic lighting: Avoid relying on ambient light alone. Add bounce light, use HDRI environments for exteriors, and place artificial light sources that match your fixture schedule.
- Texture stretching or tiling: Check UV mapping on import. Large surfaces like floors and facades are especially prone to visible tiling at close camera distances.
- Render noise in dark areas: Increase sample count for shadow-heavy scenes or use denoising filters available in most offline renderers.
“Combining static images with walkthrough animation delivers flexibility in client presentations, allowing you to switch between detailed close-ups and full spatial sequences depending on what the conversation requires.”
This hybrid approach, mixing still architectural renderings with animated walkthroughs, is one of the most practical upgrades you can make to your presentation toolkit. Static renders handle detail; walkthroughs handle experience. Together, they cover every client question.
For real estate walkthrough applications, adding environmental context like surrounding streets, landscaping, and neighboring buildings dramatically increases perceived realism. Buyers are not just buying a unit; they are buying a location.
Pro Tip: Use a handheld camera path for interior walkthroughs and switch to a smooth, stabilized path for exterior fly-throughs. The contrast in camera behavior reinforces the difference between intimate interior spaces and the broader architectural context.
If you run into persistent quality issues, walkthrough video troubleshooting resources can help you diagnose render artifacts and camera problems specific to architectural visualization workflows.
Verifying walkthrough quality and optimizing for client presentations
With enhancements in place, quality assurance and optimization ensure your finished walkthrough performs as intended and wins buy-in.
Run through this checklist before any client delivery:
- Camera smoothness: Play the walkthrough at full speed and watch for any sudden jumps, speed changes, or disorienting angles.
- Lighting consistency: Check that light levels feel consistent as the camera moves between rooms. Sudden brightness changes break immersion.
- Material accuracy: Confirm that specified finishes, colors, and textures match the design intent and any client-approved material boards.
- Scale perception: Walk a colleague through the video and ask if the space feels correctly proportioned. Fresh eyes catch scale issues that you stop noticing after hours of editing.
- File format and resolution: Confirm the export format matches the delivery context. A 4K MP4 is ideal for most presentations; VR exports need platform-specific settings.
Real-time rendering speeds iteration for client approvals, while offline rendering is the right choice for final marketing assets. Mixing both in your workflow gives you speed where you need it and quality where it counts.
Here is a summary of key decisions and their impact:
| Decision | Impact on quality | Impact on speed |
|---|---|---|
| Real-time vs. offline rendering | Lower vs. higher quality | Faster vs. slower |
| Model optimization | Prevents artifacts | Major speed gain |
| Camera path type | Affects immersion | Minimal impact |
| Resolution choice | Direct quality impact | Significant time cost |
| Feedback iteration cycle | Improves final output | Adds review time |
After client feedback, prioritize changes that affect spatial understanding first, lighting second, and material details third. That order reflects how viewers actually experience a walkthrough. Review walkthrough quality examples and professional walkthrough standards to benchmark your output against industry expectations.
Explore professional 3D walkthrough solutions
Creating a high-quality walkthrough in-house demands significant time, hardware investment, and specialized skills. For many architecture firms and real estate developers, the smarter move is partnering with a studio that has already solved those problems at scale.

Rendimension has completed over 1,000 projects globally, delivering professional 3D rendering and immersive walkthroughs tailored to residential and commercial developments. Whether you need a single presentation asset or a full marketing suite, the walkthrough services are built around your project timeline and client expectations. Browse the walkthroughs portfolio to see the quality standard across different project types, and reach out to discuss how a custom walkthrough can strengthen your next presentation or pre-sales campaign.
Frequently asked questions
What’s the best software for architectural 3D walkthroughs?
Lumion offers fast real-time rendering while 3ds Max with V-Ray delivers high-quality photorealistic visuals; Unreal Engine and Twinmotion are the top choices for VR-compatible walkthroughs.
Should I use real-time or offline rendering for walkthroughs?
Use real-time rendering for fast iterations and client drafts, then switch to offline rendering when producing photorealistic final assets intended for marketing.
How do I avoid common mistakes in 3D walkthroughs?
Optimize your model geometry before import, use smooth eased camera paths, verify lighting consistency throughout, and combine static renders with animated walkthroughs for a more flexible presentation package.
Can walkthroughs be used for VR presentations?
Yes. Unreal Engine, Twinmotion, and Lumion all support VR-compatible export formats, making it straightforward to convert a standard walkthrough into a fully immersive VR experience.
What’s the typical workflow for creating a 3D walkthrough?
Start with model cleanup, import into your rendering software, set camera paths, animate design phases, apply materials and lighting, render at the appropriate quality level, and export in the format your delivery context requires.