In 2026, vray per rhino stands out as the industry standard for architectural visualization and 3D rendering, trusted by professionals worldwide. Whether you are an experienced designer or just starting out, mastering vray per rhino can transform your workflow and creative results.
This expert guide is designed to equip you with practical strategies, from initial setup to advanced rendering techniques. Explore vray per rhino’s core features, seamless installation, workflow integration, the latest 2026 updates, troubleshooting essentials, and insider pro tips.
Unlock the full potential of vray per rhino and elevate your visualizations with confidence and efficiency.
Understanding Vray per Rhino: Core Features and Capabilities
Vray per rhino has earned its reputation as the powerhouse behind stunning visualizations in architecture and design. Its deep integration with Rhino brings advanced rendering capabilities to every stage of the creative workflow. What sets it apart, and why do so many professionals rely on it for their most demanding projects? Let’s explore the essential features and benefits that make vray per rhino the industry benchmark.
What is Vray per Rhino?
Vray per rhino is a robust rendering engine seamlessly integrated with Rhino’s 3D modeling environment. It transforms digital models into lifelike images, making it a preferred choice for architectural visualization, product design, and animation.
Unlike Rhino’s native renderer, vray per rhino provides advanced light simulation, material control, and flexibility. Designers can quickly move from concept to photorealistic results, all within the familiar Rhino interface. Competing plugins often lack the depth and speed that vray per rhino delivers, especially for large-scale projects.
Core Features of Vray per Rhino 2026
The 2026 edition of vray per rhino introduces powerful tools for real-time visualization and production-quality rendering. Key features include the Vray Vision real-time engine, an enhanced material editor, and a comprehensive asset library.
Adaptive lighting, denoising, and global illumination provide unmatched realism. Users can choose between GPU and CPU rendering for optimal speed and quality. Smart asset management streamlines large projects, making collaboration and version control easier. For a full list of capabilities, see the V-Ray 7 for Rhino Features page.
Performance and Workflow Benefits
One of the standout advantages of vray per rhino is its streamlined workflow for architects and designers. Compatibility with Rhino’s parametric tools means less time spent on conversions and more on creativity.
Batch rendering and scene management features allow teams to handle multiple deliverables efficiently. Industry surveys reveal that vray per rhino users experience up to 30% faster project delivery. For example, a leading architectural firm reported a 40% reduction in render times after switching to vray per rhino, resulting in significant cost savings.
Industry Adoption and Community Support
Over 70% of architectural visualization studios now prefer vray per rhino, according to recent competitor data. Its widespread adoption is supported by an active community, robust online forums, and a wealth of training resources.
Vray per rhino’s integration with third-party plugins and BIM workflows extends its versatility. Case studies highlight how global design firms leverage its features to deliver complex projects on time and with exceptional visual quality.
Key Arguments and Insights
Vray per rhino remains the top rendering solution in 2026 because it evolves with industry needs. The technology has advanced from static renders to real-time collaboration and immersive VR experiences.
Its adaptability ensures that teams stay ahead of trends, such as cloud-based workflows and interactive design reviews. By investing in vray per rhino, professionals future-proof their visualization pipelines, ensuring they can tackle any challenge the industry brings.
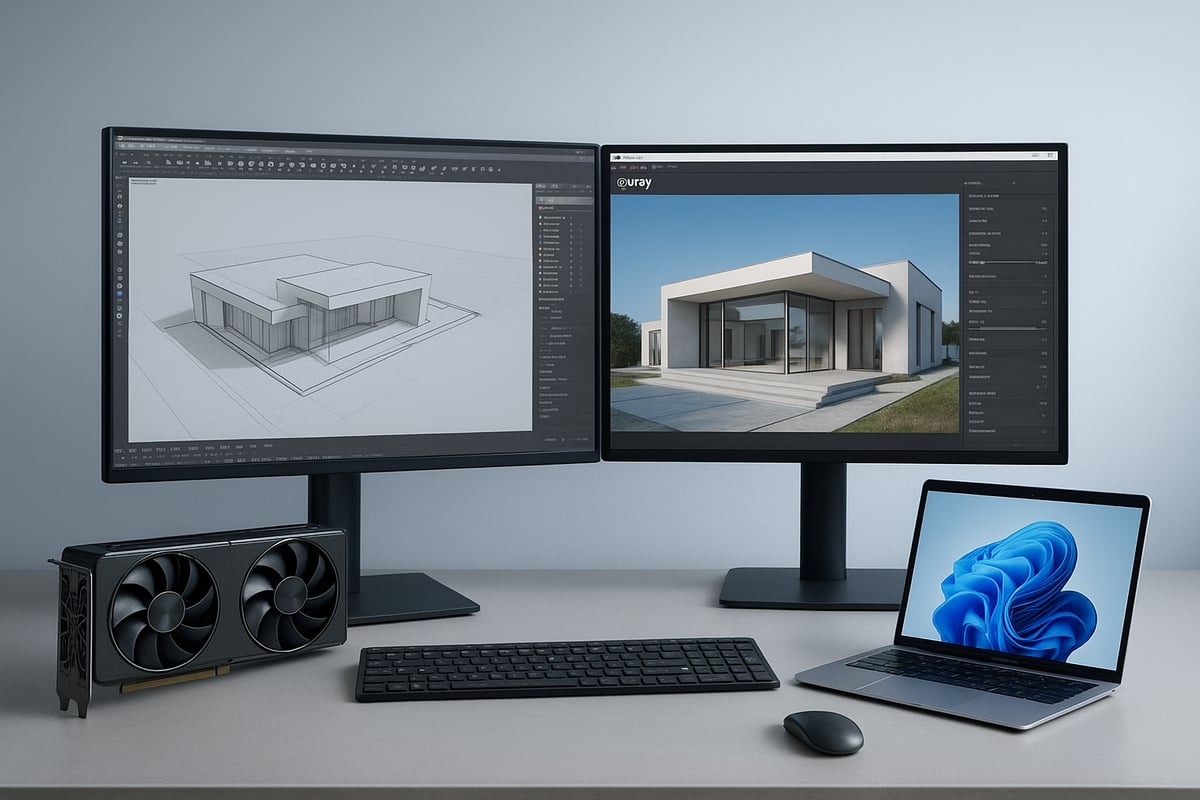
Getting Started: Installation, Setup, and Essential Configuration
Embarking on your journey with vray per rhino begins with a solid foundation. Ensuring your hardware and software meet the latest requirements is essential for a smooth experience. This section walks you through system compatibility, step-by-step installation, best practices for configuration, and how to activate and keep your vray per rhino up to date.
System Requirements and Compatibility
Before installing vray per rhino, verify your system matches the recommended specifications for peak performance. Both Windows and macOS (including MacBook Air) are supported, but hardware capabilities influence your rendering speed and stability.
| Component | Minimum | Recommended |
|---|---|---|
| CPU | Intel i5 or AMD Ryzen 5 | Intel i9 or AMD Ryzen 9 |
| RAM | 8 GB | 32 GB |
| GPU | 4 GB VRAM, CUDA/OpenCL | 12 GB VRAM, RTX/Apple Silicon |
| OS | Windows 10/11, macOS 13+ | Latest Windows/macOS |
| Rhino | Version 7+ | Version 9 |
If you are using Apple hardware, consult the Vray for MacBook Air guide for practical tips on setup and performance.
Step-by-Step Installation Guide
Installing vray per rhino is straightforward if you follow a structured process. Start by downloading the installer from the official Chaos website, then choose your preferred licensing model: subscription or perpetual.
- Download the vray per rhino installer for your operating system.
- Run the installer and follow on-screen instructions.
- Select your Rhino installation directory if prompted.
- Choose your license type and enter your credentials.
- Complete installation, then launch Rhino to verify vray per rhino appears in the render options.
If you encounter issues, check your system permissions and ensure all drivers are current. Most installation problems are resolved by restarting the computer or re-running the installer as an administrator.
Initial Configuration and Best Practices
After installing vray per rhino, set it as your default renderer in Rhino’s Render Settings panel. Adjust basic render settings based on your project type, such as image resolution and output format.
- Organize your asset libraries early for efficient workflow.
- Use descriptive names for custom materials and textures.
- Regularly back up your vray per rhino configuration files.
- Test initial renders with sample scenes to confirm everything is working.
These steps help you avoid common pitfalls and streamline your rendering process from the start.
Activating and Updating Vray per Rhino
To activate vray per rhino, open the license server application and log in with your Chaos account. Register your product key if required, then return to Rhino to verify activation.
For updates, regularly check the Chaos website or use the built-in updater in the vray per rhino settings. Update plugins and extensions alongside the main software to maintain compatibility with Rhino updates.
- Register your license via the license server.
- Check for updates monthly.
- Manage third-party plugins to avoid conflicts.
Staying current with updates ensures vray per rhino remains stable, secure, and ready for new features.
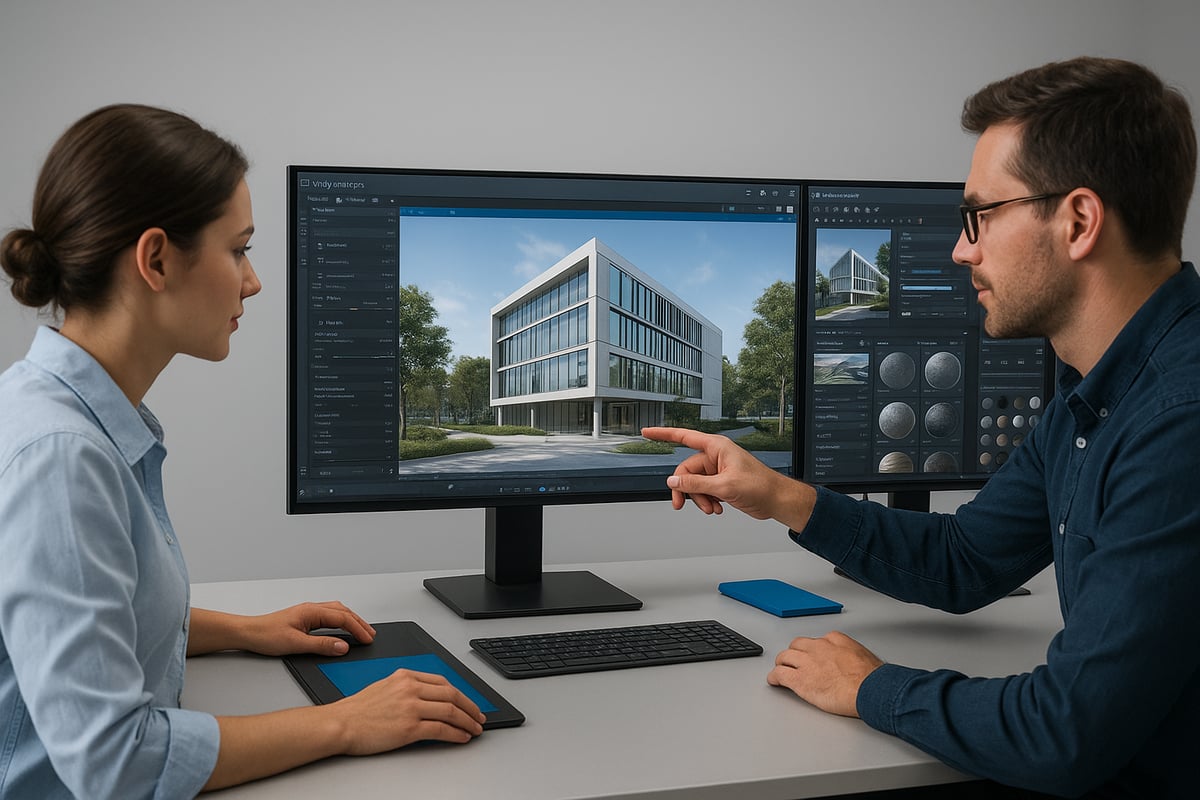
Mastering the Vray per Rhino Workflow: From Modeling to Final Render
Unlocking the full potential of vray per rhino requires a structured workflow. Each stage, from model prep to final output, is vital for achieving outstanding results. Let’s break down the essential steps so you can render with confidence and efficiency.
Preparing Your Rhino Model for Rendering
Start your vray per rhino workflow by ensuring your 3D model is clean and organized. Remove duplicate or hidden geometry, and fix any open edges. Proper layer management and clear naming conventions help keep large projects manageable.
Import assets and external references as needed, making sure all scales and units match. For best results, study guides like How to prepare 3D models for photorealism to optimize geometry and set up UVs. A well-prepared model reduces render times and prevents errors.
For example, in a residential project, group related elements such as walls, windows, and furniture. This structure streamlines material assignment and scene navigation, laying the groundwork for efficient rendering in vray per rhino.
Material Creation and Management
Materials are the heart of realism in vray per rhino. Use the Vray Material Editor to create and fine-tune shaders, adjusting properties like reflectivity, roughness, and transparency.
Apply high-resolution textures and procedural maps for added detail. Leverage the built-in asset library to quickly assign common finishes, saving valuable time. Organize materials by type—wood, metal, glass—to maintain consistency across your project.
For instance, when creating realistic wood floors, layer bump and reflection maps. For metal accents, tweak anisotropy settings. Mastering these techniques brings your vray per rhino scenes to life with convincing surfaces.
Lighting Techniques in Vray per Rhino
Lighting defines the mood and realism of every vray per rhino render. Choose from Sun, Dome, IES, and Mesh lights to match your scene’s requirements.
Set up HDRI environments for natural, dynamic lighting. Balance sunlight and artificial sources to highlight key features. Experiment with intensity and color temperature for different times of day.
Try comparing day and night lighting setups for interiors. Use Dome lights with HDRI for soft, even illumination, and supplement with IES spotlights for dramatic accents. Effective lighting elevates your vray per rhino visuals to a professional standard.
Camera Setup and Composition
A well-composed camera shot showcases the strengths of vray per rhino. Use Vray physical cameras for realistic exposure and lens effects. Adjust focal length and depth of field to emphasize your subject.
Apply rules of composition, like the rule of thirds, to guide the viewer’s eye. For architectural shots, maintain parallel verticals and avoid distortion. Use perspective correction tools within vray per rhino for clean, professional images.
For example, to create a hero shot of a skyscraper, position your camera at street level, set a wide angle, and adjust exposure to highlight glass reflections. This approach makes your renderings both dramatic and believable.
Rendering Settings and Optimization
Choosing the right render settings is crucial for balancing quality and speed in vray per rhino. Decide between GPU and CPU engines based on your hardware and project scale.
Adjust sampling rates, denoising, and global illumination settings for optimal results. Use adaptive sampling to focus resources on complex areas. Organize your scene with layers and proxies to manage memory efficiently.
Consider this table for quick reference:
| Setting | Best for Speed | Best for Quality |
|---|---|---|
| GPU Engine | ?? | ?? |
| CPU Engine | ? | ?? |
| Denoising | ?? | ?? |
| Adaptive Sampling | ?? | ?? |
Reducing noise in complex scenes with vray per rhino can cut render times significantly, especially on tight deadlines.
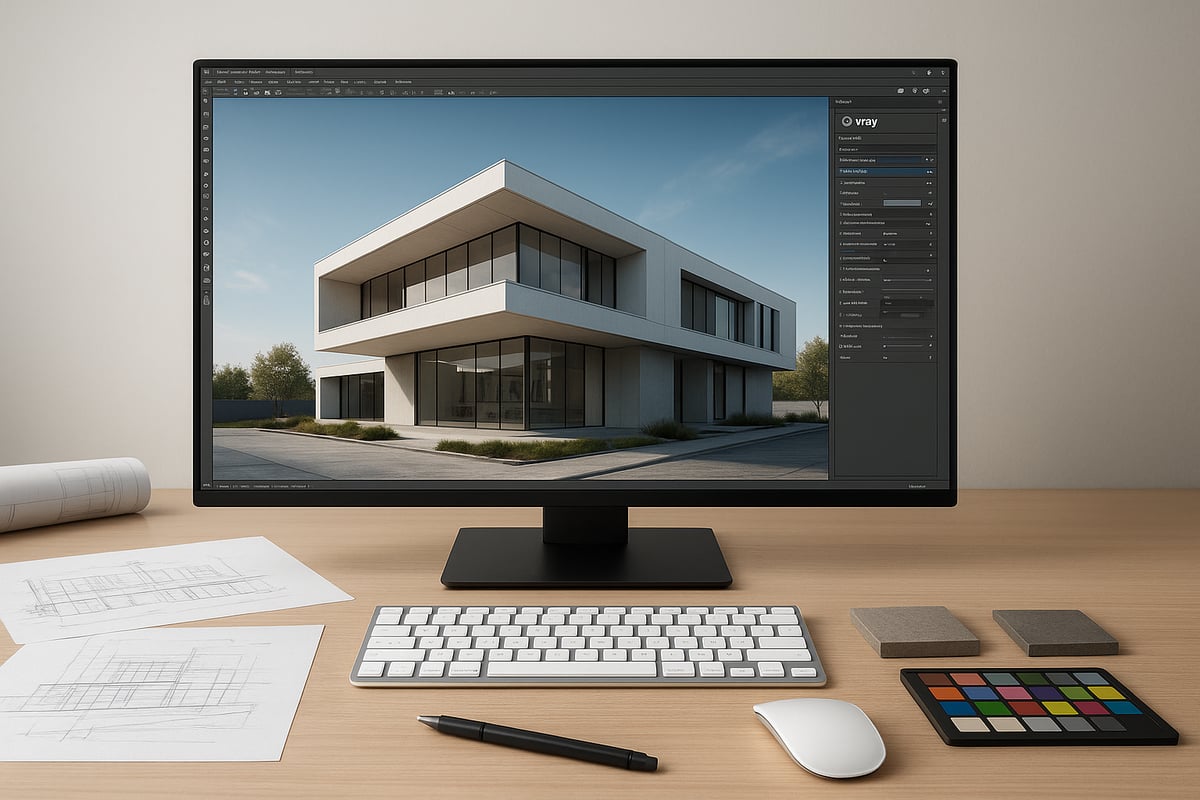
Post-Processing and Output
The final step in the vray per rhino workflow is post-processing. Use the Vray Frame Buffer to review render passes and make real-time adjustments to exposure, contrast, and color balance.
Export high-resolution images or animations in formats suitable for print or digital presentations. Combine render elements in image editing software for greater control and flexibility.
For client presentations, prepare boards with before-and-after comparisons, close-ups, and alternate lighting scenarios. Effective post-processing ensures your vray per rhino renders leave a lasting impression.
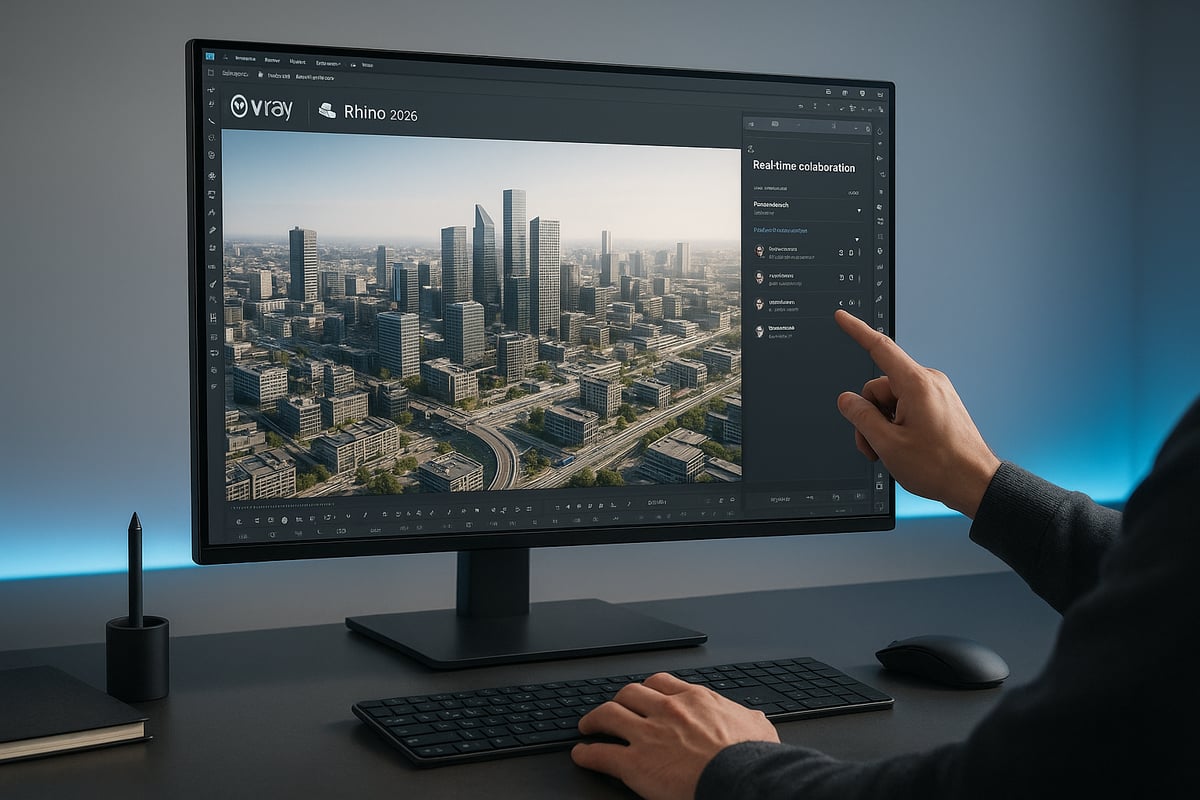
What’s New in Vray per Rhino 2026: Latest Features and Updates
Vray per rhino 2026 arrives with a suite of groundbreaking features, setting a new benchmark for visualization professionals. The latest release focuses on real-time collaboration, smarter asset management, and next-gen rendering technology. Whether you are a seasoned architect or a design enthusiast, these updates promise to elevate your workflow and output quality.
Major Updates in the 2026 Edition
The 2026 edition of vray per rhino introduces real-time collaboration tools, allowing multiple users to work on the same scene simultaneously. This update streamlines teamwork, especially for distributed design teams. Enhanced material presets and a smarter asset library help users achieve stunning results with less effort.
AI-powered denoising and upscaling further improve render clarity and speed. Benchmarks show rendering times up to 35 percent faster than previous versions. For example, a commercial project that once took hours to finalize can now be completed in under half the time. These improvements make vray per rhino indispensable for time-sensitive projects.
Improved Integration with Rhino and Other Tools
Vray per rhino 2026 offers seamless compatibility with Rhino 9 and Grasshopper, supporting advanced parametric workflows. The latest build supports BIM data exchange, including IFC and Revit formats, making it easier to coordinate with other disciplines. VR platform integration is now more robust, enabling immersive design reviews and client presentations.
For architects exploring the future of immersive design, the new version streamlines VR walkthroughs and real-time feedback. To see how these capabilities transform project delivery, explore this Virtual reality workflow for architects guide. These enhancements make vray per rhino a versatile bridge between design, visualization, and client experience.
User Experience and Interface Enhancements
A redesigned, intuitive UI defines the user experience in vray per rhino 2026. Navigation is faster, with customizable workspaces and streamlined menus. Shortcuts are now user-definable, allowing professionals to tailor the environment to their needs.
Accessibility improvements ensure inclusivity, with enhanced support for assistive technologies and high-contrast modes. Beta testers report significantly reduced learning curves and more productive sessions. Feedback highlights how the new interface in vray per rhino accelerates project setup and reduces repetitive tasks.
Performance and Stability Improvements
Performance gains are a highlight of vray per rhino 2026. Rendering large scenes, such as a one-million-polygon cityscape, is now smoother and more reliable. Memory management has been overhauled, reducing the risk of crashes during complex animations or batch renders.
Official benchmarks from Chaos Group indicate render times are consistently faster, even on entry-level hardware. Users report the ability to handle larger, more detailed projects without sacrificing stability. These improvements confirm vray per rhino’s status as the go-to solution for demanding visualization tasks.
Advanced Techniques and Pro Tips for Professionals
Mastering vray per rhino in 2026 means moving beyond the basics. Professionals leverage advanced techniques to achieve photo-realism, streamline complex scenes, and ensure smooth collaboration. This section explores essential strategies, troubleshooting methods, and resources to help you elevate your workflow.
Photorealism: Achieving Realistic Results
To unlock the full visual potential of vray per rhino, focus on photorealism. Start by layering materials for depth and complexity. Use micro-details, such as subtle scratches or fingerprints, to add authenticity. Apply displacement and bump maps to surfaces for tactile realism.
Simulate real-world lighting with HDRIs and calibrated color temperatures. For glass and water, combine refraction, reflection, and caustics settings for lifelike effects. Regularly reference high-quality photographs to guide your material and lighting choices.
Experiment with Vray’s advanced settings to fine-tune glossiness, translucency, and subsurface scattering. These steps help ensure your renders stand out in professional portfolios and client presentations.
Animation and Walkthroughs
Vray per rhino empowers users to create compelling animations and walkthroughs for project presentations. Set up animated cameras in Rhino to capture dynamic paths through your models. Use batch rendering to efficiently generate image sequences for each frame of your animation.
Integrate your rendered sequences into video editing software for post-production enhancements, such as titles, transitions, or soundtracks. For smooth walkthroughs in commercial spaces, carefully plan camera movements to highlight key design features and spatial flow.
Leverage Vray’s render elements to separate lighting, reflections, and materials, enabling flexible adjustments in post. Animations produced with vray per rhino help clients and stakeholders visualize spaces before construction begins.
Working with Large and Complex Scenes
Handling massive scenes is a hallmark of advanced vray per rhino workflows. Optimize geometry by cleaning up redundant elements and merging similar objects. Use proxy objects to replace high-poly models with lightweight placeholders, ensuring smooth navigation and faster renders.
Instancing techniques allow you to duplicate assets, like trees or furniture, without increasing memory demand. Layered rendering lets you break projects into manageable sections, recombining them in post for flexibility.
Professionals familiar with 3ds Max and Vray rendering will appreciate similar proxy, instancing, and scene management strategies available in vray per rhino. These tools are vital for visualizing high-rise buildings or expansive masterplans.
Collaborative Workflows and Team Projects
Modern studios rely on vray per rhino for seamless team collaboration. Share asset libraries and render settings across teams to maintain consistency. Cloud rendering and network rendering distribute workloads, reducing bottlenecks and accelerating project delivery.
Implement version control systems to manage file iterations and prevent data loss. Organize project files with clear naming conventions and folder structures for easy access by remote teams.
Collaborative workflows are crucial for firms with multiple locations or freelancers contributing to a single project. By leveraging vray per rhino’s network capabilities, professionals deliver cohesive results efficiently.
Troubleshooting and Problem-Solving
Even expert users encounter challenges in vray per rhino. Common issues include noise in renders, material artifacts, or unexpected lighting results. Start by checking material settings, texture resolutions, and light intensities.
Consult the official V-Ray 7 Documentation for solutions to complex errors and to stay updated on bug fixes. Use Rhino’s diagnostic tools to identify geometry problems impacting renders.
Participate in user forums to seek advice from the vray per rhino community. Document troubleshooting steps and fixes for future reference, ensuring efficient problem-solving on future projects.
Essential Resources and Learning Pathways
Continuous learning is vital for mastering vray per rhino. Start with official documentation and video tutorials to understand new features and best practices. Enroll in online courses or pursue certification to validate your expertise.
Join community forums and user groups for peer support and to share knowledge. For the latest updates and advanced strategies, refer to the V-Ray 7 Documentation, which covers enhancements, interactive tours, and troubleshooting.
Explore YouTube channels and professional blogs for in-depth guides and case studies. With these resources, you can stay at the forefront of vray per rhino development and industry trends.
Vray per Rhino for Industry Applications: Real-World Use Cases
Across industries, vray per rhino empowers professionals to visualize, communicate, and innovate with confidence. Its versatility supports workflows from architecture to education, making it an essential tool for design-driven teams.
Architecture and Real Estate Visualization
Vray per rhino has become a cornerstone for architectural and real estate visualization. Its ability to render detailed, photorealistic images helps architects and developers present concepts to clients with clarity and impact. Interactive walkthroughs allow stakeholders to explore spaces before construction begins, reducing costly revisions.
A real estate firm, for example, used vray per rhino to create immersive marketing visuals for a new residential complex. These visuals led to a 25% increase in pre-sales. Continuous improvements, such as AI-powered tools and enhanced performance for complex projects, are highlighted in the V-Ray 7 Update 2 Enhancements, making vray per rhino even more valuable for large-scale developments.
Product and Industrial Design
In product and industrial design, vray per rhino accelerates prototyping and visualization. Designers use its advanced material editor to simulate real-world finishes, enabling precise studies of form, color, and texture. This helps teams make informed decisions earlier in the process.
A furniture company leveraged vray per rhino to visualize a new chair collection before manufacturing. By evaluating materials and lighting in virtual prototypes, they reduced the design cycle by 30%. The ability to quickly iterate and present polished concepts gives product teams a competitive edge.
Interior Design and Decoration
Interior designers rely on vray per rhino to craft detailed mood boards and explore material options. Its robust lighting simulation tools help designers study the interplay of natural and artificial light in various spaces. This leads to more accurate and compelling presentations.
One interior designer won a high-profile client bid by showcasing vray per rhino renderings of a proposed hotel lobby. The visuals captured subtle material differences and lighting effects, allowing the client to make confident choices. Such results demonstrate how vray per rhino elevates design communication.
Education, Research, and Virtual Reality
Vray per rhino is widely adopted in academic programs and research labs. Its intuitive integration with Rhino makes it ideal for teaching architectural visualization and 3D modeling fundamentals. Students gain hands-on experience creating professional-quality renderings.
Universities have integrated vray per rhino into architecture curricula, enabling students to visualize projects and prepare for real-world workflows. In research, its support for VR experiences allows teams to conduct immersive design reviews, fostering innovation and collaboration.