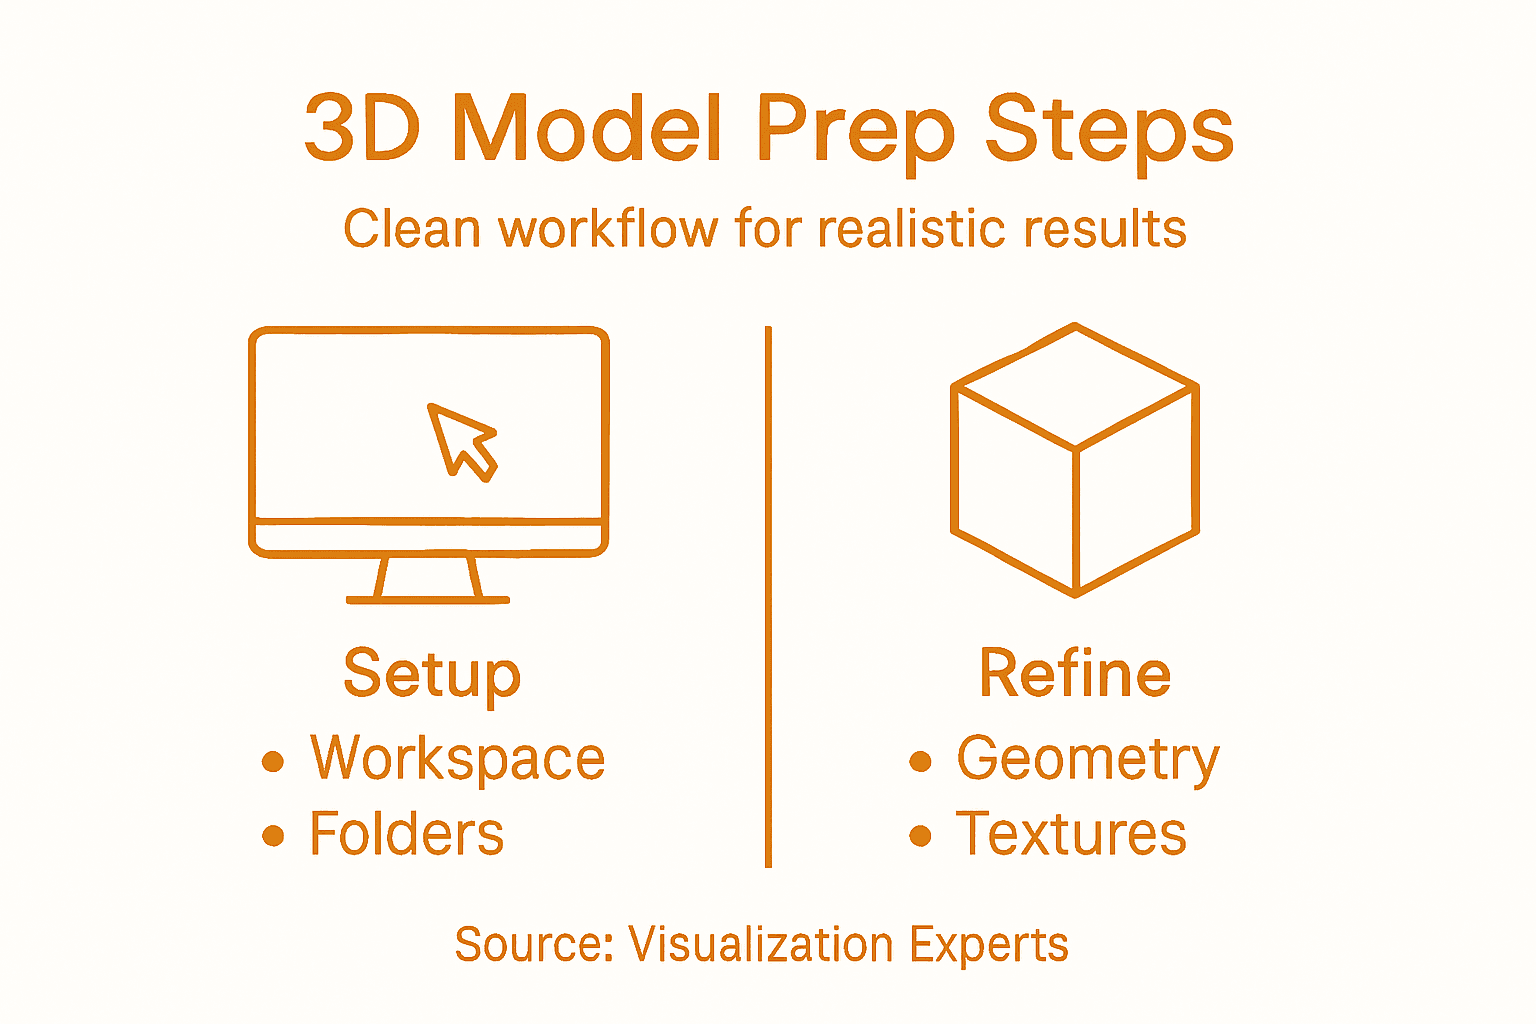
Every project starts with a mess of reference images, draft models, and scattered files. For busy architects across the United States and Canada, that initial chaos can derail even the best design intentions. An organized setup lays the groundwork for photorealistic results and smooth workflow whether your models head to client meetings or high-end visualization. This guide gives you the practical steps to streamline your 3D modeling process, from file order to final export, so you spend more time designing and less time searching.
Table of Contents
- Step 1: Set Up Your Project Workspace
- Step 2: Import and Organize Model Assets
- Step 3: Refine Geometry and Topology
- Step 4: Apply Materials and Textures
- Step 5: Check Model Scalability and Precision
- Step 6: Verify and Export for Visualization
Quick Summary
| Key Insight | Explanation |
|---|---|
| 1. Organize Your Project Files | Set up a dedicated folder system to keep assets easily accessible and reduce workflow friction. |
| 2. Import Models Methodically | Import models in categories and rename them clearly to streamline adjustments and rendering processes. |
| 3. Ensure Clean Geometry | Refine your models’ geometry to ensure proper light interaction and avoid rendering issues. |
| 4. Apply Realistic Materials | Use high-quality textures and ensure accurate scaling for photorealistic results in renderings. |
| 5. Verify Scale and Precision | Consistently check dimensions to maintain realism and avoid visual discrepancies in your models. |
Step 1: Set Up Your Project Workspace
Before you dive into modeling or rendering, you need a clean, organized workspace that supports both your technical workflow and your creative thinking. This means setting up your files, folder structure, and reference materials in a way that keeps everything accessible and your project moving forward without unnecessary friction.
Start by creating a dedicated project folder with clear subfolders for your raw assets, source files, work in progress models, and final outputs. If you’re working with reference photography or client briefs, keep those in an easy-to-reach location. When preparing a photorealistic architectural visualization, you’ll want reference images grouped by category (exterior elevations, interior materials, lighting conditions, and so on). Your software workspace itself matters equally—configure your viewport settings, lighting defaults, and material libraries before you begin detailed modeling work. This prevents you from stopping midway through to hunt for settings or reconfigure your interface. Many architects find that saving custom workspaces for different phases of a project (layout phase, materials phase, final rendering phase) saves tremendous time and keeps your thinking focused.
Getting your workspace right also means understanding how your models will eventually be used. Will these be imported into a rendering engine? Are you building for client walkthroughs or high-resolution stills? Creating realistic workspace elements with proper ergonomic detail reinforces the authenticity that clients expect, so knowing your end goal shapes how you organize your assets from day one. Take fifteen minutes now to create your folder structure, organize your references, and dial in your software preferences. This small investment prevents the chaos of scrambling through disorganized files when you’re on a tight deadline.
Professional tip Keep a master reference folder with material samples, color swatches, and furniture libraries organized by project type so you’re not recreating the wheel for every new commission.
Here’s a summary showing how each project setup component directly affects your workflow and creative outcomes:
| Setup Component | Workflow Impact | Creative Benefit |
|---|---|---|
| Organized folder structure | Enables fast asset retrieval | Reduces distractions, boosts focus |
| Custom workspace settings | Minimizes reconfiguration time | Allows seamless creative switching |
| Master reference library | Quick access to material samples | Consistent, high-quality visuals |
| Clear asset categories | Easier scaling for large projects | Encourages clean, purposeful design |
Step 2: Import and Organize Model Assets
Now that your workspace is ready, it’s time to bring in your 3D models and get them organized in a way that supports both your workflow and the final rendering quality. The way you import and structure your assets directly affects how smoothly your project moves forward and how well your rendering engine can process the geometry and materials.
Start by importing your models one category at a time rather than dumping everything in at once. Import your architectural elements first, then furniture, then smaller details and accessories. As each asset comes in, rename it immediately with a clear, descriptive label that indicates what it is and what layer or zone it belongs to. A model named “Chair_Office_WaitingArea_01” tells you far more than “Mesh_001.” Group related objects together logically, so all furniture from one room stays grouped, all exterior elements stay together, and all lighting fixtures form their own hierarchy. This organization becomes your lifeline when you need to adjust materials later or when your rendering engine needs to process specific objects. Preparing geometry and materials carefully before integration ensures that your renderer can maintain photorealistic quality without getting bogged down by poorly structured data. As you organize, verify that all textures and material links are intact. Sometimes textures break during import, leaving you with missing materials or placeholder colors. Check your materials panel as you go, not after you’ve imported everything.
Once your assets are organized and their materials are confirmed, do a quick viewport check to make sure nothing looks obviously broken or out of scale. A model that’s sized incorrectly or rotated ninety degrees wrong becomes a headache later when you’re deep into lighting and composition. Catch these issues now while fixing them takes seconds. Your organized, properly prepared asset library becomes the foundation for everything that comes next, from material refinement to final rendering.
Professional tip Create a master asset library with standardized naming conventions and folder structures so future projects move faster and your team stays on the same page.
Step 3: Refine Geometry and Topology
Your models are imported and organized, but they likely need refinement before they can deliver photorealistic results. Whether you’re working from photogrammetry scans, downloaded assets, or models you’ve built from scratch, the geometry almost always needs cleanup. This step separates amateur results from professional quality because proper topology directly affects how light interacts with surfaces and how materials render.

Start by examining your models in detail, zooming in to spot surface noise, stray vertices, and topology issues. If you imported models from photogrammetry or 3D scanning, you’ll typically have dense, messy geometry that needs smoothing and simplification. Use your modeling software’s decimation or remeshing tools to reduce polygon count while maintaining surface detail. Look for areas where topology creates visible artifacts like stretching or pinching, especially around curved surfaces like domes or cylinders. Smoothing surfaces and removing noise ensures models can be textured and rendered realistically by your rendering software. Pay special attention to edges and corners, where topology errors become most visible under realistic lighting. Delete any internal geometry or faces that won’t be seen in your final render, as this reduces processing overhead and keeps your scene clean. As you refine, watch for normal map issues that can betray poor topology during rendering. A face with inverted normals will render dark and broken no matter how good your materials are, so fix these before moving forward.
The goal isn’t perfection for its own sake, but rather optimal topology that supports accurate light interactions. Your geometry should feel smooth under lighting, with edge flow that follows the natural form of the object. Once you’ve cleaned up the major issues, do a final pass looking specifically for any remaining artifacts. This foundation of clean geometry is what allows your materials and lighting to shine in the final render.
Professional tip Use wireframe mode frequently while refining to catch topology problems early, and always check your model under realistic preview lighting before moving to the materials phase.
Step 4: Apply Materials and Textures
Now comes the phase where your models transform from gray geometry into surfaces that look and feel real. Materials and textures determine whether your architectural visualization reads as photorealistic or unconvincing, so this step demands careful attention to detail and real-world observation. The difference between a mediocre render and a client-winning one often comes down to how thoughtfully you’ve applied materials.
Start by taking inventory of the surfaces in your scene and gathering high-resolution reference textures for each one. If you’re rendering an office building lobby, you need textures for marble, wood, glass, metal, concrete, and fabric. Download or create texture maps that capture real-world surface detail. Using physically-based rendering materials with accurate light response is non-negotiable for photorealism, so invest in quality PBR materials that include diffuse, normal, and roughness maps. As you apply materials, pay close attention to scale. A marble tile that’s supposed to be one foot across shouldn’t render the size of a postage stamp or a tabletop. Ensuring texture scales match real-world measurements maintains believable appearance throughout your scene. Adjust parameters like reflection, glossiness, and bump height to simulate how materials actually behave under light. Matte plaster should have different roughness values than polished stone, and fabric should look different from metal. Layer your maps thoughtfully, using displacement maps to add surface variation and normal maps to enhance detail without adding geometry.
Once you’ve applied base materials, step back and evaluate your scene with fresh eyes. Look for surfaces that feel flat or unconvincing. Often a single poorly calibrated material stands out and breaks the illusion. Render quick test passes at different zoom levels and lighting conditions to see how your materials hold up. Pay special attention to how materials interact at edges and where different surfaces meet. This is where attention to detail separates professional work from amateur attempts.
Professional tip Create a material library organized by surface type so you can quickly apply tested, proven materials to new projects instead of tweaking every texture from scratch.
Step 5: Check Model Scalability and Precision
Scale mistakes destroy photorealism faster than almost anything else. A door that’s eight feet tall when it should be seven feet, a desk that dwarfs a chair, or a window that’s impossibly small will immediately signal to viewers that something is wrong, even if they can’t articulate why. This step ensures your entire scene maintains dimensional accuracy and spatial credibility.
Start by establishing your project’s unit system and sticking to it religiously. Decide whether you’re working in millimeters, centimeters, meters, feet, or inches, and apply that consistently across every single model. Many scaling problems originate when you combine models created in different unit systems without conversion. Grab a few reference measurements from your architectural plans or specifications. If you’re designing an office environment, know that standard desk heights sit around 30 inches, door frames measure 80 inches tall, and ceiling heights typically range from 9 to 10 feet. Place comparison objects in your scene, like human figures or standard furniture pieces, to verify that everything feels proportionally correct. Walk through your scene from a person’s eye level to see how spatial relationships actually feel. Accurate model scaling reflects actual object dimensions and supports both aesthetic realism and functional considerations like ergonomics in office environments. A perfectly rendered chair that’s the size of a couch breaks believability instantly.
Beyond individual object scaling, check your overall scene scale against your architectural drawings. Measure critical distances like room widths, hallway lengths, and clearances between objects. Use your software’s measurement tools to verify dimensions. If something doesn’t match your specifications, fix it now before you invest hours in lighting and camera positioning. Precision at this stage prevents expensive rework later and ensures your renders actually reflect what will be built. Your client and your credibility depend on getting scale right.
Professional tip Create a scale checklist before you start modeling, documenting key dimensions from your architectural plans so you can verify them systematically as your scene comes together.
Use this quick reference for standard architectural visualization dimensions to validate scale and precision:
| Object Type | Typical Dimension | Realism Checkpoint |
|---|---|---|
| Office desk | Height: 30 inches | Should align with other furniture |
| Interior door | Height: 80 inches | Matches human proportions |
| Ceiling height | Height: 9–10 feet | Supports realistic room volume |
| Chair | Seat height: 18 inches | Must fit under standard desks |

Step 6: Verify and Export for Visualization
You’ve refined your geometry, applied materials, and checked your scale. Now comes the critical final step before your models enter the rendering pipeline: comprehensive verification and proper export. This is where small oversights can cascade into major problems during rendering, so methodical checking now prevents frustration later.
Before you export anything, run through a complete pre-export checklist. Verify that all geometry is clean and error-free, checking for inverted normals that will render as dark artifacts, missing faces, or overlapping geometry. Confirm that every material is properly assigned and that no textures are missing or broken. Look for any stray objects, temporary guides, or reference geometry that shouldn’t travel with your final model. Test your scene one more time at different zoom levels and under preview lighting to catch any last minute issues. Running pre-export diagnostics confirms geometry integrity and material readiness before transfer to visualization software. Bake all transformations and freeze your scene so that rotation, scale, and position values reset to defaults. This prevents compatibility issues when your rendering engine interprets your model’s orientation. Use a systematic approach, documenting what you’ve verified so nothing slips through.
When you’re ready to export, choose your file format carefully based on where your models are heading. FBX and OBJ are industry standards that preserve geometry and material data reliably. Using appropriate file formats preserves photorealistic qualities by embedding relevant textures with your geometry. Before finalizing your export, do a test run on a smaller version of your scene to ensure the exported file imports cleanly into your visualization software without losing quality or introducing unexpected issues. Verify that textures follow with your geometry and that materials transfer correctly. Name your exported files clearly, including version numbers and dates so you know which iteration you’re working from. The export phase marks the transition from modeling to rendering, and getting it right ensures your rendering team works with clean, optimized data that delivers photorealistic results.
Professional tip Create a standardized export checklist and keep it visible during your final verification phase so you consistently catch the same types of errors across multiple projects.
Elevate Your Photorealistic 3D Models with Expert Visualization Support
Preparing 3D models for photorealistic results requires precision in workspace setup, asset organization, geometry refinement, and accurate material application. Many professionals face challenges such as ensuring correct scale, clean topology, and flawless texture integration to avoid breaking the immersive experience. If you want to move beyond the complexities of model preparation and ensure your architectural or product visuals deliver maximum impact Rendimension offers tailored 3D design and architectural visualization services that turn your detailed models into stunning visual realities.

Unlock the full potential of your projects by collaborating with a team focused on high-quality renderings and immersive experiences. Take the stress out of technical preparation and benefit from photorealistic renderings crafted with exacting attention to scale, materials, and lighting. Discover how Rendimension can enhance your presentations and marketing efforts at Rendimension. Start transforming your concepts today with professional 3D visualization solutions. Don’t wait to impress your clients with visuals that accurately reflect the dedication you put into every detail.
Frequently Asked Questions
What is the first step to prepare 3D models for photorealistic results?
The first step is to set up an organized workspace by creating a dedicated project folder with clear subfolders. Establish a structured environment for your raw assets, source files, and reference materials to streamline your workflow and enhance productivity.
How can I ensure my 3D models have accurate geometry and topology?
Examine your models closely for any surface noise or topology issues, and use tools to clean up the geometry. Focus on smoothing surfaces and eliminating artifacts, as clean topology is crucial for achieving photorealistic results by optimizing how light interacts with surfaces.
What types of materials should I use for achieving photorealistic textures?
Use physically-based rendering (PBR) materials that accurately respond to light and include maps for diffuse, normal, and roughness properties. Gather high-resolution reference textures for different surfaces in your scene to maintain realism, ensuring that materials are applied thoughtfully and scaled correctly.
How can I verify the scale and precision of my 3D models?
Establish a consistent unit system for your project and compare your models against reference measurements to check accuracy. Measure critical dimensions like door heights and window sizes to ensure everything appears proportionate and spatially credible in your scene.
What is the best way to prepare models for export before rendering?
Run a comprehensive pre-export checklist to verify that all geometry is clean, materials are properly assigned, and no stray objects are present. Confirm that your file format preserves necessary data and perform a test export with a smaller version of your scene to ensure compatibility with your rendering software.
Recommended
- What Is 3D Rendering? Guide For Beginners – Rendimension
- High Quality 3D Rendering And Architectural Visualization
- 3D Rendering – Rendimension
- Transform Architecture With Advanced 3D Rendering : Rendimension
- Create a Stunning 3D Phone Case iPhone Mockup – Bettermockups
- Rola projektu 3D w meblarstwie – Klucz do personalizacji – Emmi Kuchnie – meble kuchenne na wymiar, szafy komandor, kuchnie bydgoszcz, meble na wymiar bydgoszcz, stolarz bydgoszcz

One thought on “How to Prepare 3D Models for Photorealistic Results”