Render Vray Rhino Guide: Expert Tips and Insights for 2026
Ready to unlock the next level of visual storytelling in design? Discover how to render vray rhino projects that meet the highest standards for 2026.
This guide breaks down the latest workflows in V-Ray for Rhino, offering expert advice and practical steps. Whether you are an architect, designer, or visualization professional, you will find insights tailored for your needs.
We will explore V-Ray Rhino fundamentals, advanced rendering settings, step-by-step workflows, troubleshooting solutions, and future trends you cannot afford to miss.
Expect actionable tips, real-world examples, and strategies designed to help you achieve flawless, photorealistic results. Take your visualization skills further and deliver client-ready renders with confidence.
Understanding V-Ray for Rhino: Core Features & 2026 Innovations
Unlocking the full capabilities of V-Ray within Rhino has revolutionized the way professionals approach design visualization. As you prepare to render vray rhino projects, grasping the latest features and innovations is essential for staying ahead in 2026.

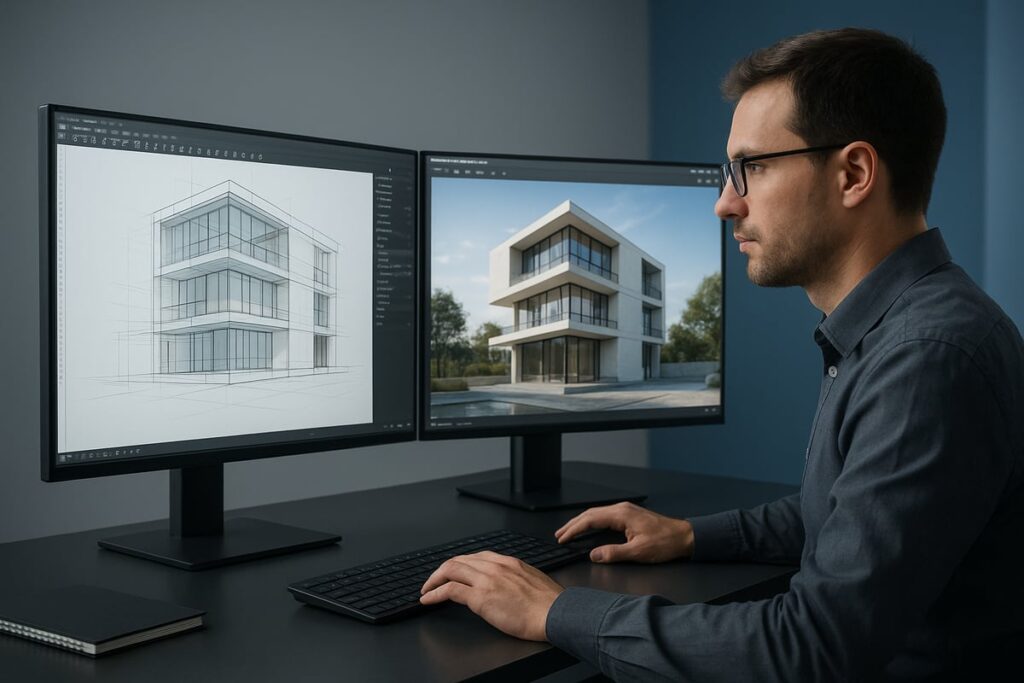
V-Ray Integration with Rhino: Seamless Workflow
V-Ray’s integration within Rhino’s interface ensures a smooth design-to-render process. The ability to render vray rhino scenes directly within your familiar workspace speeds up project turnaround and reduces learning curves.
Key benefits include:
- Real-time feedback via interactive rendering
- Synchronized material libraries for consistent results
- Centralized asset management for textures and proxies
For example, the Live Link feature allows instant updates in both design and rendering windows, saving valuable time on iterative workflows. Many professionals report up to 30% faster project completion when utilizing this embedded workflow.
Core Rendering Features in V-Ray for Rhino
V-Ray equips users with an array of tools designed for photorealism. When you render vray rhino models, you access physically accurate lighting, advanced material controls, and robust camera settings.
Key features include:
- Photorealistic lighting and global illumination
- Physically-based materials, including subsurface scattering and displacement
- Advanced camera controls for depth of field and exposure
Performance benchmarks for 2025 and 2026 reveal significant improvements in both CPU and GPU rendering speeds:
| Hardware | Draft Render (min) | Final Render (min) |
|---|---|---|
| CPU (12-core) | 7 | 30 |
| GPU (RTX 4090) | 2 | 10 |
New tools like Adaptive Dome Light and advanced denoising algorithms deliver cleaner results with less noise. For a deeper dive into these capabilities, see the V-Ray for Rhino Key Features page.
2026 Updates and New Capabilities
The 2026 version of V-Ray brings AI-powered enhancements to the forefront. When you render vray rhino scenes, you now benefit from auto-material suggestions and intelligent scene analysis that streamline setup.
Additional updates include:
- Enhanced support for large-scale models and intricate geometry
- Seamless integration with cloud rendering platforms for distributed rendering
- Smarter asset management and scene optimization tools
These innovations make handling complex projects more efficient and accessible, especially for teams working remotely.
Licensing, Hardware, and Compatibility
Licensing for V-Ray 6.0 and above follows a subscription model, offering flexibility for individuals and studios alike. To render vray rhino projects efficiently, check these hardware requirements:
- Minimum: 8-core CPU, 32GB RAM, mid-range GPU (RTX 3070 or equivalent)
- Recommended: 16-core CPU, 64GB RAM, high-end GPU (RTX 4090)
V-Ray supports a wide range of file types and is fully compatible with Rhino 8 and key design tools. This interoperability ensures you can maintain a streamlined workflow across your preferred platforms.
Real-World Use Cases and Industry Adoption
Across architecture, product design, and visualization studios, the choice to render vray rhino models is widespread. Over 60% of leading architectural firms now rely on V-Ray for Rhino as a core part of their visualization pipeline.
Common use cases include:
- High-impact architectural visualizations
- Product renderings for marketing and prototyping
- Design presentations with immersive, realistic lighting
Studios cite time savings, improved client communication, and consistently high-quality results as top reasons for adoption.
Key Arguments and Insights
V-Ray continues to dominate the market due to its focus on innovation and user-centric features. When you render vray rhino scenes using the latest tools, you maximize your return on investment with faster workflows, higher output quality, and scalable solutions.
Investing in V-Ray for Rhino ensures your visualization capabilities remain competitive as technology evolves. This commitment to continuous improvement is why so many professionals trust their most important projects to this platform.
Setting Up V-Ray for Rhino: Step-by-Step 2026 Workflow
Setting up a professional-grade workflow to render vray rhino ensures you achieve both efficiency and photorealistic results. This step-by-step guide walks you through every essential phase, from system preparation to your first photorealistic output. Whether you are new to V-Ray or updating for 2026, these concise steps will help you avoid common pitfalls and maximize your rendering success.
System Preparation and Installation
Before you render vray rhino projects, ensure your hardware meets the latest requirements for 2026. For optimal performance, use at least an Intel i7 or AMD Ryzen 7 CPU, 32GB RAM, and an NVIDIA RTX 40 series GPU. Rhino 8 and V-Ray 6.0 or newer are recommended for best compatibility.
Download the V-Ray installer from the official Chaos Group site. Run the installer, select your Rhino version, and follow the prompts. After installation, launch Rhino and confirm the V-Ray toolbar appears. If you encounter license or plugin errors, update your GPU drivers and check that no previous V-Ray plugins conflict with the new version.
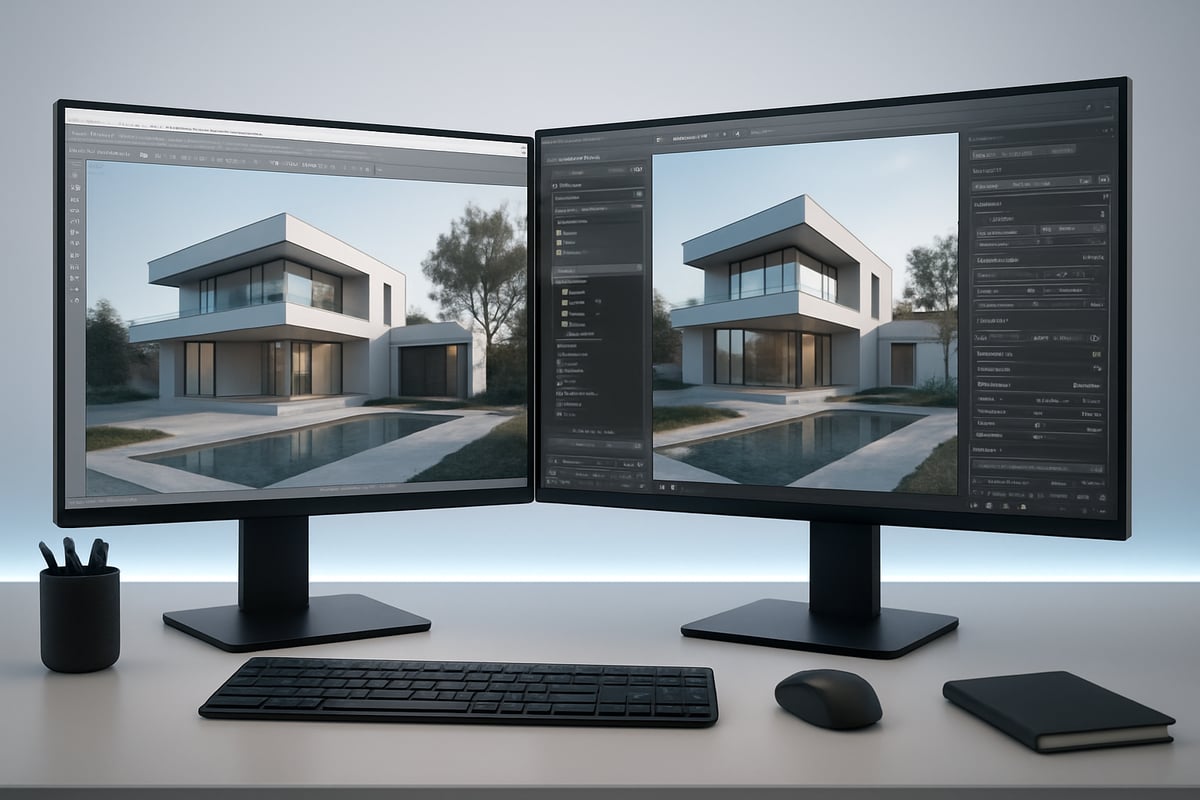
Interface Overview and Customization
Once you render vray rhino, familiarize yourself with the key V-Ray interface components. The Asset Editor manages materials, lights, and render settings. The Frame Buffer displays your renders with advanced color controls, while the V-Ray Toolbar offers quick access to essential tools.
Customize your workspace to boost productivity. You can drag and dock the Asset Editor, save custom toolbar layouts, and assign keyboard shortcuts for frequent actions. Organize your UI for fast navigation, so you spend less time searching and more time perfecting your renders.
Project Setup: Best Practices
A clean project setup is vital before you render vray rhino scenes. Set your units and scale in Rhino to match your project requirements, and create organized folders for assets, textures, and outputs. Import assets such as textures, proxies, and HDRIs into your project using the V-Ray Asset Editor.
Efficient asset management reduces mistakes and speeds up workflow. Leading studios recommend a consistent naming convention for files and folders. For additional guidance, review the Preparing 3D Models for Rendering resource for essential preparation tips before launching your first render.
Material and Texture Workflow
To render vray rhino with realism, start by assigning V-Ray materials within Rhino. Use the built-in material library for quick selections, or import custom textures for unique surfaces. The procedural maps in V-Ray allow for detailed effects, such as bump or displacement, enhancing realism.
Edit materials directly in the Asset Editor. Adjust reflectivity, glossiness, and transparency to mimic real-world surfaces like glass, metal, or fabric. For photorealistic results, always use high-resolution textures and calibrate them to your scene’s lighting conditions.
Lighting Setup: Foundations for Realism
Lighting is the backbone when you render vray rhino projects. Start by placing V-Ray Sun for natural daylight or Dome Light for HDRI-based environments. Add Spot or IES lights to highlight architectural features or create mood in interiors.
Balance light intensity and color temperature to match the scene’s intent. Test different HDRIs for environmental variety. Fine-tune shadows and highlights to avoid flat or unrealistic results, always previewing changes in the interactive render window for instant feedback.
Camera and View Management
Set up physical cameras in Rhino to control composition, depth of field, and exposure before you render vray rhino. Adjust focal length and aperture for dramatic effects or photorealistic accuracy. Use the V-Ray Camera controls to simulate real-world photography.
Create and save multiple camera views for batch rendering. This approach is especially useful for client presentations, allowing you to showcase the project from several angles without resetting camera parameters each time.
Rendering Settings: Getting Started
Choosing the right engine is critical when you render vray rhino. Decide between CPU, GPU, or Cloud rendering based on your hardware and project size. Start with draft-quality settings for quick previews, then switch to high-quality presets for final outputs.
Use built-in preset configurations for common scenarios, such as interior or exterior scenes. These presets balance speed and quality, letting you iterate quickly during early design phases and deliver polished results for final presentations.
Advanced Rendering Techniques: Achieving Photorealism in 2026
Photorealism in architectural visualization is a moving target, and with render vray rhino, you have the technology to stay ahead. In 2026, advanced techniques are essential to produce the hyper-realistic images clients now expect. Let us explore the expert methods that elevate your work from impressive to unforgettable.
Material Creation and Customization
To achieve lifelike results with render vray rhino, mastering material creation is essential. Start by using layered materials to simulate complex surfaces, such as polished marble or frosted glass. Subsurface scattering is crucial for translucent materials like skin or wax, adding depth and realism.
Displacement maps bring out intricate surface details without increasing geometry. V-Ray Blend and Multi-Sub materials are powerful for surfaces with varied finishes or mixed textures, enabling a single object to contain multiple appearances. For example, combine gloss and matte layers on a countertop for a convincing effect.
For step-by-step guidance on photorealistic materials, the Guide to Photorealistic Rendering offers practical workflows tailored to render vray rhino users.
Experiment with procedural textures for non-repetitive patterns, and always use high-resolution maps. Test your material under various lighting to ensure consistency.
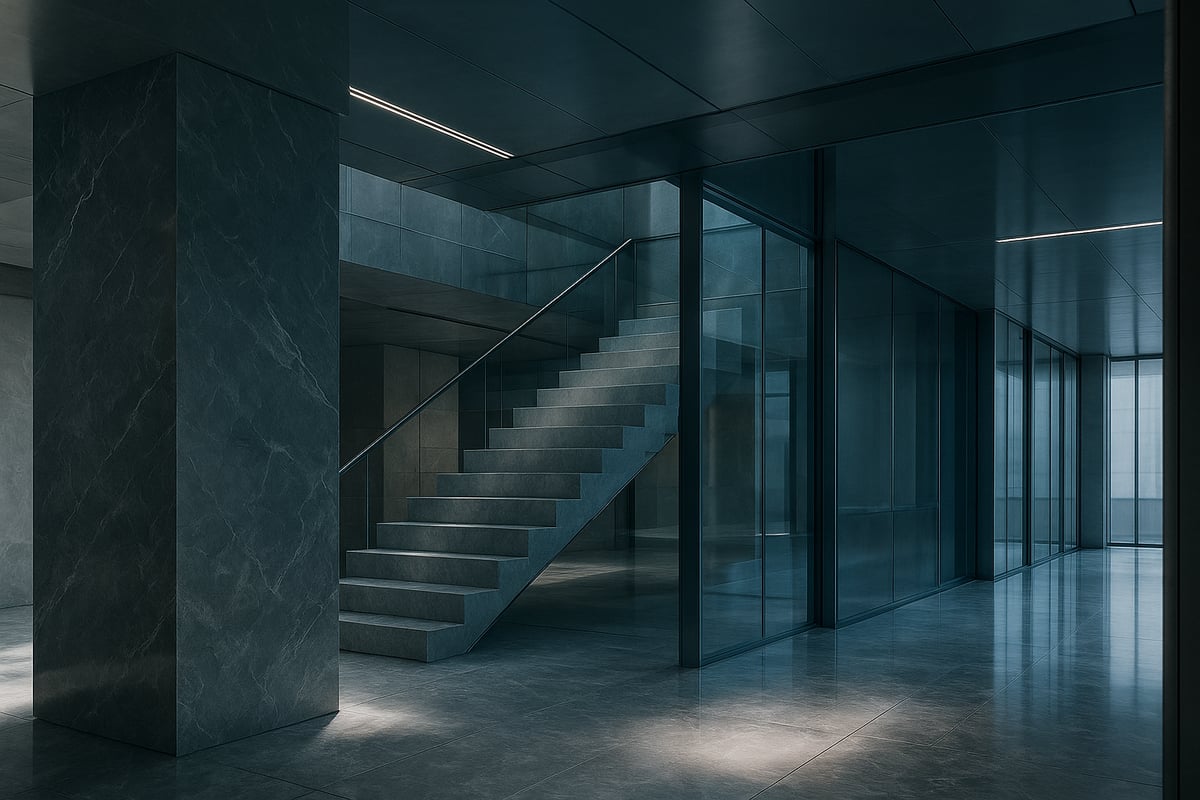
Lighting Mastery: Daylight, Night, and Interior Scenes
Lighting is the soul of any render vray rhino project. Advanced HDRI and image-based lighting (IBL) techniques allow you to simulate realistic environments, from sunlit exteriors to atmospheric interiors.
For daylight scenes, use V-Ray Sun with a Dome Light and an HDRI sky for soft, natural shadows. At night, combine artificial lights like IES profiles for accurate fixture effects with subtle ambient fill.
Compare different setups by tracking render times and visual results. Adaptive Dome Light optimizes lighting calculations, reducing noise and cutting render times. Try mixing color temperatures for nuanced mood shifts between zones in your scene.
Render Elements and Post-Production
Render elements are vital for professional compositing. With render vray rhino, set up passes such as Z-depth, Reflection, and Refraction to gain full post-production control.
Use the V-Ray Frame Buffer for real-time color corrections, exposure tweaks, and applying LUTs. Export each layer in formats compatible with Photoshop or After Effects, making it easy to fine-tune the final image.
Organize your layers logically for efficient post work. Render masks for selective adjustments, and always check alpha channels to ensure clean cutouts for backgrounds or overlays.
Optimization for Speed and Quality
Balancing speed and quality is a core skill in render vray rhino workflows. Denoising is one of the biggest time-savers in 2026. Compare the two leading options:
| Denoiser | Best For | Speed | Quality |
|---|---|---|---|
| NVIDIA AI Denoiser | Previews, GPU | Fast | Good |
| V-Ray Denoiser | Final Renders | Medium | Excellent |
Adaptive sampling and noise threshold controls let you target only the noisy parts of the image, reducing unnecessary calculations. Save up to 40% on render times by optimizing these settings.
Batch render low-res previews first to catch issues before committing to a full-quality output. Always monitor system resources to avoid bottlenecks.
Animation and Walkthroughs
Motion adds a new dimension to render vray rhino visualizations. Set up camera animations by defining paths and keyframes within Rhino. Batch rendering sequences ensures consistency across frames.
Export animations in formats suited for client presentations or immersive VR experiences. Use motion blur and depth of field for cinematic results. For VR, prepare 360-degree renders to create an interactive design review environment.
Keep animation files organized by naming conventions and folder structures, which streamlines revisions and delivery.
Managing Large and Complex Scenes
Complexity is no barrier when using render vray rhino efficiently. Proxy objects and instancing drastically cut down on memory use, allowing scenes with over 10 million polygons to render smoothly.
Divide large scenes into manageable layers, and use section boxes or clipping planes to focus on specific areas. Monitor memory consumption during test renders to spot potential crashes early.
For repetitive elements, like vegetation or furniture, rely on instancing. This approach keeps file sizes small and performance high, even in vast architectural projects.
Troubleshooting Common Issues & Expert Solutions
Even with the most advanced tools, render vray rhino projects sometimes hit snags. Knowing how to quickly diagnose and fix issues is crucial for delivering high-quality results and meeting deadlines. This section provides actionable solutions for common problems, ensuring your workflow remains smooth and efficient.
Diagnosing Rendering Errors and Artifacts
Render vray rhino users often encounter issues such as excessive noise, fireflies, missing textures, or unnatural lighting. These artifacts can undermine the realism of a scene and delay project delivery.
To tackle these problems, follow a structured checklist:
- Check render settings for incorrect sampling or low subdivision values.
- Review texture paths to ensure all assets are correctly linked.
- Inspect lighting setups for overlapping sources or extreme intensities.
- Test with simplified geometry to isolate the issue.
Systematically addressing each factor helps pinpoint the root cause, making it easier to restore clarity and realism in your render vray rhino scenes.
Solutions for Slow Renders and Crashes
Performance bottlenecks are a frequent concern when you render vray rhino, especially with complex scenes or high-resolution outputs. Slow renders and unexpected crashes can stem from hardware limitations, scene complexity, or outdated software.
Here are steps to improve stability:
- Monitor CPU, GPU, and RAM usage during rendering.
- Optimize geometry by removing unnecessary details or using proxies.
- Update your drivers, plugins, and V-Ray version to the latest builds.
- Test smaller sections of the scene to identify problematic assets.
By proactively managing resources and keeping software current, you can minimize downtime and maintain a reliable render vray rhino workflow.
Material and Lighting Problems
Achieving photorealism in render vray rhino depends on precise material setups and balanced lighting. Common pitfalls include incorrect reflections, color shifts, or texture mapping errors. For instance, splotchy shadows in interiors often result from low light sample settings or overlapping light sources.
Consider these troubleshooting tips:
- Double-check UV mapping and scale for all materials.
- Adjust light subdivisions and ensure lights do not intersect geometry.
- Use reference images to match real-world materials.
- Review Photorealism in Architecture Insights for deeper understanding of how accurate materials and lighting impact final output.
With careful adjustments, render vray rhino can deliver visually stunning, artifact-free results.
Output and Export Issues
Exporting your render vray rhino projects with the correct output settings is essential. Typical challenges include incorrect resolution, missing render elements, or absent alpha channels.
To avoid these pitfalls:
- Confirm output resolution and aspect ratio before rendering.
- Use the V-Ray Frame Buffer to check layers and channels.
- Select appropriate file formats for your intended post-production workflow.
- Verify that all required render elements are enabled in the render settings.
By double-checking these parameters, you ensure your render vray rhino images are ready for compositing or presentation without costly re-renders.
Community Resources and Support
When troubleshooting render vray rhino issues, the user community is an invaluable asset. Official forums, knowledge bases, and user groups provide quick access to expert advice and solutions.
Statistics show that over 75 percent of V-Ray users resolve technical challenges through these platforms. Sharing screenshots, error logs, and detailed descriptions helps others assist you more effectively.
Engaging with the community not only accelerates problem-solving but also keeps you informed about new tips, updates, and best practices for render vray rhino workflows.
Future Trends in V-Ray Rhino Rendering: 2026 and Beyond
Staying ahead in visualization means understanding where the industry is going next. As you prepare to render vray rhino projects in 2026, it is crucial to recognize the trends shaping the future. From AI-driven workflows to energy-efficient rendering, these innovations will define tomorrow’s standards. Let’s explore what lies ahead for render vray rhino users.
AI and Machine Learning in Rendering
Artificial intelligence is radically transforming how you render vray rhino scenes. AI-powered denoising, automatic material suggestions, and smart scene analysis significantly reduce manual setup time. For example, AI assistants can optimize lighting and materials, cutting setup time by up to 30%. This trend is set to accelerate, providing smarter tools for both beginners and experts. To dive deeper into these advancements, explore the Future of 3D Rendering Trends for a comprehensive overview.
Cloud Rendering and Collaborative Workflows
Cloud rendering is revolutionizing how teams render vray rhino projects. With distributed workflows, large scenes can be processed remotely, enabling collaboration across offices and time zones. Leading platforms offer seamless integration, letting you offload heavy computations and focus on creativity. This approach supports real-time feedback and faster project delivery, which is essential for large-scale or deadline-driven visualization work.
Real-Time Visualization and VR Integration
Real-time ray tracing and VR walkthroughs are becoming standard for render vray rhino professionals. These tools allow instant feedback, immersive presentations, and interactive design reviews. Imagine adjusting lighting or textures in a VR environment while your client explores the space. Architectural firms increasingly use these features for client approvals, accelerating decision-making and enhancing project engagement. The future points to even tighter VR and real-time integration.
Sustainability and Green Rendering
Sustainability is now a major consideration for render vray rhino workflows. New rendering techniques prioritize energy efficiency, reducing power consumption by up to 20% according to industry reports. Optimized settings and eco-friendly hardware choices contribute to greener visualizations. As regulations and client expectations shift, adopting sustainable rendering practices will be key for responsible and competitive studios.
Preparing for Next-Gen Hardware and Software
Preparing to render vray rhino in 2026 means keeping pace with rapid advances in hardware and software. Next-generation GPUs and CPUs promise greater speeds and memory, supporting ever-larger and more complex scenes. Compatibility with upcoming Rhino releases ensures your workflow stays efficient and future-proof. By staying informed and adapting early, you secure a competitive edge and guarantee your visualizations remain cutting-edge.
Expert Insights: Maximizing Results with V-Ray Rhino
Unlocking the best results when you render vray rhino requires more than technical skill. It takes a strategic approach, up-to-date knowledge, and insight from seasoned professionals. Below, we explore proven ways to elevate your workflow and outcomes.
Workflow Optimization Tips from Industry Leaders
To render vray rhino efficiently, industry leaders rely on smart workflow tactics. They use batch processing to handle multiple renders at once, saving hours on repetitive tasks. Asset libraries are carefully organized, making it simple to reuse high-quality materials and textures.
Custom shortcuts and workspace layouts further streamline daily operations. Many professionals document their steps, turning complex processes into repeatable templates. This approach not only reduces errors but also boosts project turnaround.
By adopting these habits, you can focus more on creative problem-solving and less on manual setup.
Balancing Quality and Performance
Knowing when to prioritize speed over detail is essential to render vray rhino effectively. For early-stage drafts, experts lower render settings to deliver fast previews without overloading the system. As the design evolves, settings are increased for final, photorealistic output.
A recent case study showed how a team met a tight client deadline by balancing resolution and denoising options. They delivered client-ready results without sacrificing crucial details.
This flexible approach ensures you always meet expectations, no matter how demanding the project timeline.
Continuous Learning and Skill Development
Staying competitive means you must continuously refine how you render vray rhino. Top professionals recommend exploring advanced courses, official certifications, and up-to-date learning platforms. These resources offer deeper insights into new features and techniques.
For example, reviewing the V-Ray 7 for Rhino Release Notes helps you stay ahead with the latest AI-powered enhancements and workflow improvements. Regularly updating your skills ensures you can leverage every innovation.
Ongoing education is the foundation for mastering future rendering challenges.
How Professional Rendering Services Elevate V-Ray Rhino Projects
Sometimes, the smartest way to render vray rhino is to partner with dedicated 3D rendering studios. These experts use advanced techniques, tailored workflows, and immersive VR experiences to transform your projects.
Collaborating with professionals grants access to specialized skills and high-end hardware. Outsourcing complex tasks saves time and guarantees polished, client-ready visuals.
For large, high-stakes, or innovative work, professional support often makes the difference between good and truly exceptional results.