Clients expect more than static renderings when evaluating architectural visions today. Accurate, immersive visualization has become a vital tool for American and Canadian architects aiming to deliver clarity and engage stakeholders at every stage. Incorporating virtual reality not only improves understanding of complex design processes but also enhances project communication. This guide highlights how to build a strong VR workflow, from detailed asset gathering to seamless 3D model integration, empowering your team to create interactive presentations that inspire informed decisions.
Table of Contents
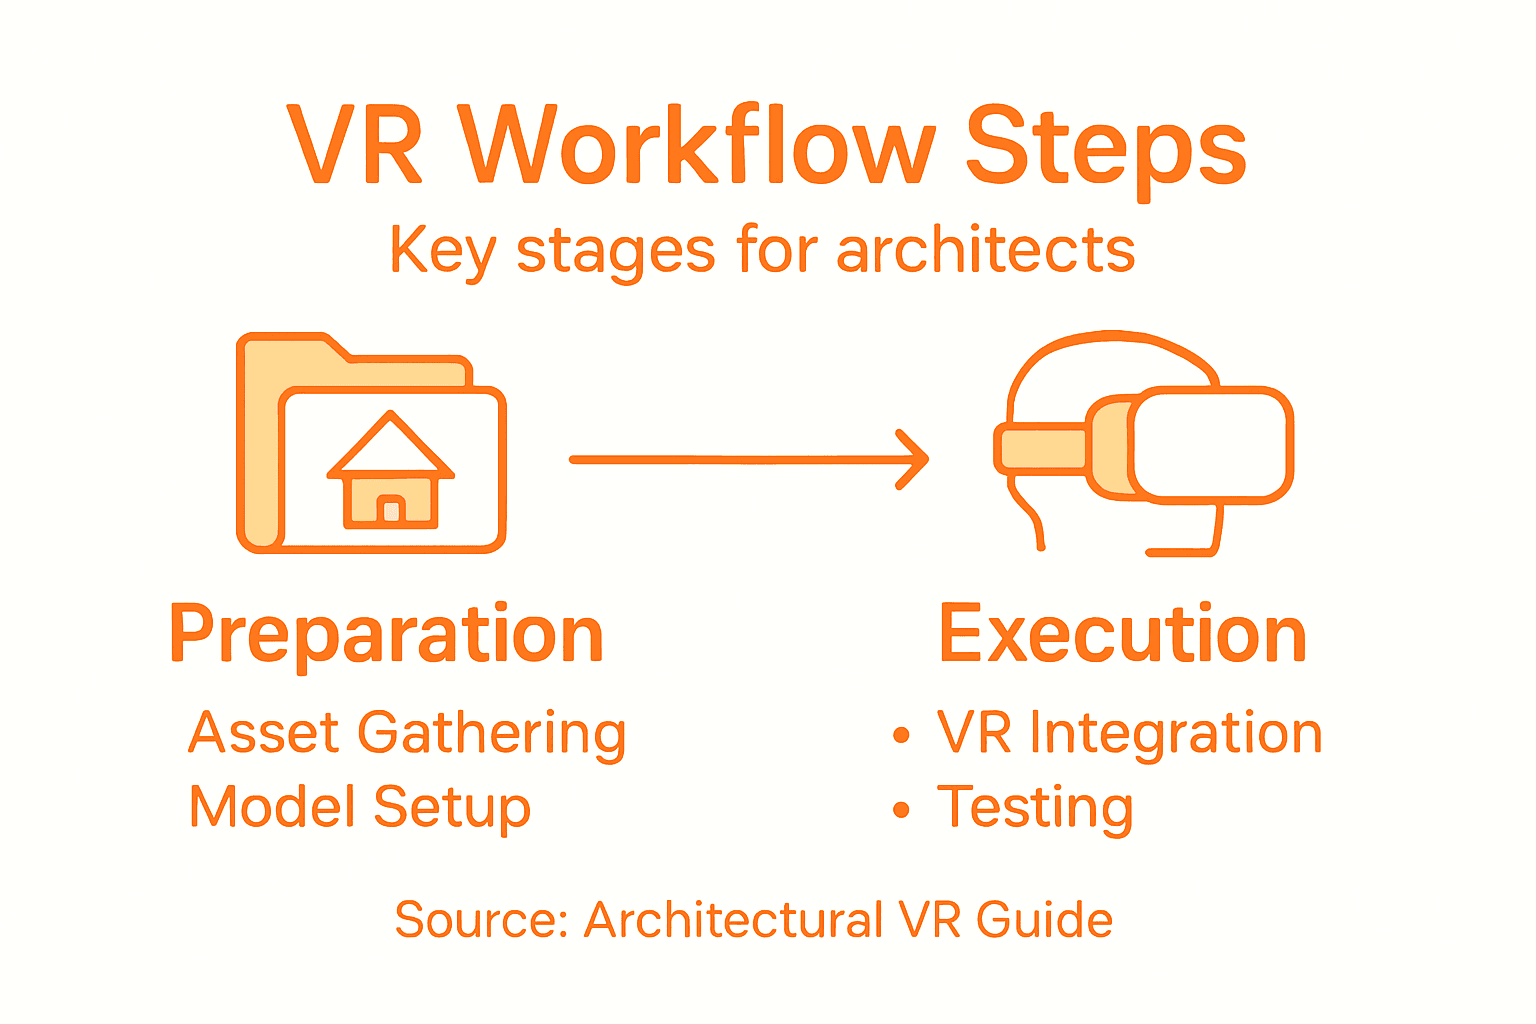
- Step 1: Assess Project Requirements And Gather Assets
- Step 2: Set Up VR-Ready 3D Models In Design Software
- Step 3: Integrate Models With Virtual Reality Platforms
- Step 4: Customize User Experience And Interaction Tools
- Step 5: Test, Review, And Optimize The VR Presentation
Quick Summary
| Main Insight | Clarification |
|---|---|
| 1. Assess Project Requirements | Start by gathering all necessary design materials to ensure effective VR integration. |
| 2. Optimize 3D Models for VR | Prepare and simplify your 3D models while maintaining quality for smooth VR performance. |
| 3. Ensure Compatibility with VR Platforms | Confirm that your models work seamlessly across different VR hardware and file formats. |
| 4. Design Intuitive User Interactions | Create natural navigation tools and feedback systems that enhance user experience in VR. |
| 5. Conduct Thorough Testing | Implement user evaluation methods to enhance performance and ensure an immersive presentation. |
Step 1: Assess Project Requirements and Gather Assets
Before diving into virtual reality workflows, architects must carefully assess project requirements and compile all necessary design assets. This foundational step ensures a smooth and efficient VR integration process for your architectural visualization.
The project assessment begins with comprehensive requirements modeling techniques that help capture the intricate details of your design objectives. Start by cataloging all existing project materials, including:
- Architectural blueprints
- CAD drawings
- Site survey documentation
- Client design briefs
- Reference imagery and inspiration boards
- Material specifications and texture references
Next, conduct a thorough review of your digital assets. Check file formats, resolution, and compatibility with VR platforms. You want to ensure seamless translation of 2D designs into immersive 3D environments. Pay special attention to geometric complexity and texture quality, as these elements significantly impact the final VR experience.
Successful VR workflows start with meticulous asset preparation and clear project understanding.
Engaging stakeholders early in this process helps validate requirements and prevent potential redesigns. Ask detailed questions about project goals, desired visualization outcomes, and specific VR presentation needs. VR technologies improve understanding of complex processes, so the more precise your initial asset gathering, the more effective your final visualization will be.
Pro tip: Create a comprehensive digital asset checklist and version control system to track all project materials and ensure smooth collaboration throughout the VR design process.

Step 2: Set Up VR-Ready 3D Models in Design Software
Transforming architectural designs into immersive virtual reality experiences requires strategic preparation of 3D models using specialized design software. Your goal in this step is to optimize and prepare digital assets for seamless VR integration, ensuring high-fidelity visualization of architectural concepts.
Begin by selecting a robust 3D modeling platform that supports comprehensive design workflows. Parametric 3D modeling tools like FreeCAD enable precise geometric modifications and support multiple file formats essential for VR compatibility. Focus on these key preparation steps:
- Simplify complex geometries without losing design integrity
- Optimize polygon count for smooth VR performance
- Ensure accurate scale and dimensional representation
- Prepare clean, well-structured model topology
- Remove unnecessary background elements
Next, convert your architectural models into VR-friendly file formats. Advanced 3D creation suites like Blender offer robust tools for UV mapping, texturing, and export capabilities that support various VR platforms. Pay special attention to texture resolution and model complexity to maintain visual fidelity while ensuring optimal rendering performance.
Successful VR architectural visualization depends on meticulous 3D model preparation and intelligent file optimization.
Carefully review your model’s compatibility with target VR platforms. Check file size, polygon count, and texture quality to prevent potential rendering issues. A well-prepared 3D model serves as the foundation for an immersive and compelling virtual reality architectural experience.
Pro tip: Create a standardized model preparation checklist with specific technical requirements to streamline your VR workflow and ensure consistent quality across different architectural projects.
Step 3: Integrate Models with Virtual Reality Platforms
Transitioning your meticulously prepared architectural models into immersive virtual reality platforms marks a critical phase in your VR workflow. This step transforms static 3D designs into interactive, explorable digital environments that bring architectural concepts to life.
Begin by selecting a compatible VR platform that supports cross-platform XR integration through standardized APIs. These platforms enable seamless translation of your architectural models across different VR hardware and devices. Consider these essential integration strategies:
- Verify file format compatibility
- Check polygon and texture resolution requirements
- Test model responsiveness and interaction capabilities
- Ensure consistent scale and dimensional accuracy
- Optimize model performance for smooth rendering
Import your 3D models carefully, paying close attention to how different platforms handle geometric complexity. Architectural design workflows now increasingly leverage deep learning techniques to facilitate smoother model integration, allowing architects to collaborate more effectively with emerging VR technologies.
Successful VR integration requires precision, technical understanding, and a strategic approach to digital model translation.
Prepare for potential adjustments during the integration process. Some VR platforms might require additional optimization or minor geometric simplifications to ensure optimal performance. Your goal is to maintain design integrity while creating a fluid, responsive virtual experience that allows stakeholders to explore architectural spaces intuitively.
Compare architectural VR platforms and their integration features:
| Platform Type | Model Format Support | Interaction Features | Scalability |
|---|---|---|---|
| Standalone VR | Limited (OBJ/FBX) | Basic walking, pointing | Best for single-user demos |
| Cross-platform XR | Extensive (GLTF, USDZ) | Advanced collaboration | Supports multiple devices |
| Cloud-Based VR | Web-friendly formats | Remote access tools | Ideal for remote reviews |
Pro tip: Create a standardized model integration checklist that includes technical specifications and performance benchmarks to streamline your VR platform workflow and minimize potential compatibility issues.
Step 4: Customize User Experience and Interaction Tools
Customizing the user experience is crucial for creating engaging and intuitive virtual reality architectural walkthroughs. Your goal is to design interactive environments that enable stakeholders to explore and understand architectural designs with unprecedented clarity and immersion.
Start by implementing UX design techniques for virtual reality that prioritize user comfort and engagement. Focus on creating interaction tools that feel natural and responsive. Consider these key customization strategies:
- Design intuitive navigation controls
- Create context-sensitive interaction menus
- Implement smooth object manipulation mechanisms
- Add spatial audio feedback
- Develop ergonomic movement systems
Configure interaction tools carefully to match the specific needs of your architectural presentation. Advanced interaction authoring tools now allow architects to build complex, physics-based interactions that simulate real-world object behaviors and spatial relationships.
Effective VR interactions transform passive viewing into active exploration, making architectural concepts come alive.
Pay close attention to user comfort and accessibility. Test your interaction design with multiple users to ensure the experience feels intuitive and reduces potential motion sickness. The goal is to create a seamless interface that allows stakeholders to focus on the architectural design rather than struggling with complex controls.
Pro tip: Develop multiple interaction presets that can be quickly switched to accommodate different user preferences and technical skill levels.
Step 5: Test, Review, and Optimize the VR Presentation
The final stage of your virtual reality architectural workflow involves comprehensive testing, critical review, and strategic optimization to ensure your VR presentation delivers a compelling and professional experience. This crucial step transforms your technical work into a polished, immersive visualization that effectively communicates your architectural design.
Begin by conducting systematic user evaluation methods that rigorously assess your VR presentation’s performance and user experience. Focus on these key testing parameters:
- Measure user engagement and interaction flow
- Evaluate visual clarity and model fidelity
- Check performance metrics like frame rate and responsiveness
- Assess cognitive load and user comfort
- Identify potential navigation or interaction barriers
Document user feedback meticulously and use insights to refine your presentation. Technical validation frameworks help architects systematically improve VR experiences by addressing specific usability challenges and enhancing overall design communication.
Continuous refinement separates good VR presentations from truly exceptional architectural visualizations.
Implement an iterative optimization process that balances technical performance with design aesthetics. Pay special attention to subtle details that can significantly enhance user perception, such as lighting effects, texture quality, and smooth interaction mechanics. The goal is to create a VR experience that feels intuitive, immersive, and professionally crafted.
Here is a summary of VR workflow stages and their unique focus points:
| Workflow Stage | Primary Objective | Key Technical Challenge | Stakeholder Benefit |
|---|---|---|---|
| Asset Gathering | Collect all design files and documents | Ensuring file compatibility | Clear project understanding |
| Model Preparation | Optimize 3D models for VR | Balancing detail vs. performance | High-fidelity visualization |
| VR Platform Integration | Import and configure in VR software | Handling geometric complexity | Interactive environments |
| User Experience Customization | Tailor controls and interactions | Reducing motion sickness | Intuitive exploration |
| Testing & Optimization | Review and improve presentation | Maintaining frame rate | Immersive, polished results |
Pro tip: Develop a standardized testing protocol with multiple user groups to capture diverse perspectives and ensure your VR presentation resonates across different skill levels and technical backgrounds.
Elevate Your Architectural VR Workflows with Rendimension
Architects face the complex challenge of transforming detailed 3D models into seamless virtual reality presentations that engage stakeholders and accurately convey design intent. From asset gathering to customizing user interactions, every step demands precision and expert handling to deliver immersive experiences without compromising performance or visual fidelity. Key goals like optimizing polygon counts, ensuring VR platform compatibility, and enhancing user comfort are critical to avoid technical setbacks and maximize impact.
Rendimension specializes in tackling these pain points by providing high-quality, photorealistic 3D renderings and immersive visualizations tailored specifically for architecture professionals. Our collaborative process ensures every model is optimized and integrated flawlessly into VR workflows so you can focus on design communication and stakeholder engagement passionately. Whether you need a detailed architectural walkthrough or a fully immersive virtual reality presentation, Rendimension offers the technical expertise and visual precision necessary to bring your vision to life.
Discover how Rendimension can help you simplify complex VR integration and create captivating architectural experiences today.

Unlock the full potential of your virtual reality projects now by exploring our professional architectural visualization services at Rendimension. Visit our website and transform your 3D models into stunning, interactive presentations that impress clients and accelerate decision-making.
Frequently Asked Questions
What are the initial steps in the virtual reality workflow for architects?
The first step is to assess project requirements and gather all necessary assets, including architectural blueprints and CAD drawings. Create a checklist to catalog these materials and ensure compatibility with VR platforms.
How can I optimize 3D models for virtual reality integration?
To optimize 3D models, simplify complex geometries without losing design integrity and ensure accurate scale. Focus on reducing polygon count by about 20% to improve performance in VR platforms.
What should I consider when integrating models into a VR platform?
Check for file format compatibility, polygon resolution, and how well the models respond during interactions. Import the models cautiously to ensure they maintain their design integrity and work smoothly across different devices.
How can I customize the user experience in a VR architectural presentation?
Customize the user experience by designing intuitive navigation controls and context-sensitive interaction menus. Focus on ergonomic movement systems to improve user comfort and consider feedback from multiple test users to enhance overall engagement.
What steps should I take to test and optimize my VR presentation?
Conduct thorough evaluations to measure user engagement, visual clarity, and interaction flow. Document user feedback and implement an iterative optimization process to refine performance and aesthetics, ensuring a polished final presentation.
Recommended
- VR Real Estate And Augmented Reality Benefits By Rendimension
- 3D Walkthroughs Real Estate Agents – Rendimension
- 3d Virtual Home Walkthrough? – Rendimension
- High Quality 3D Rendering And Architectural Visualization
