Finding the right approach to architectural visualization can shape how clients respond to your designs and influence project outcomes. For architects and real estate developers in North America, every detail from initial project goals to final visual deliverables plays a pivotal role in client presentations. This guide highlights advanced architectural visualization techniques that combine strategic planning, precise modeling, material realism, and compelling rendering to showcase your residential and commercial projects with unmatched clarity and impact.
Table of Contents
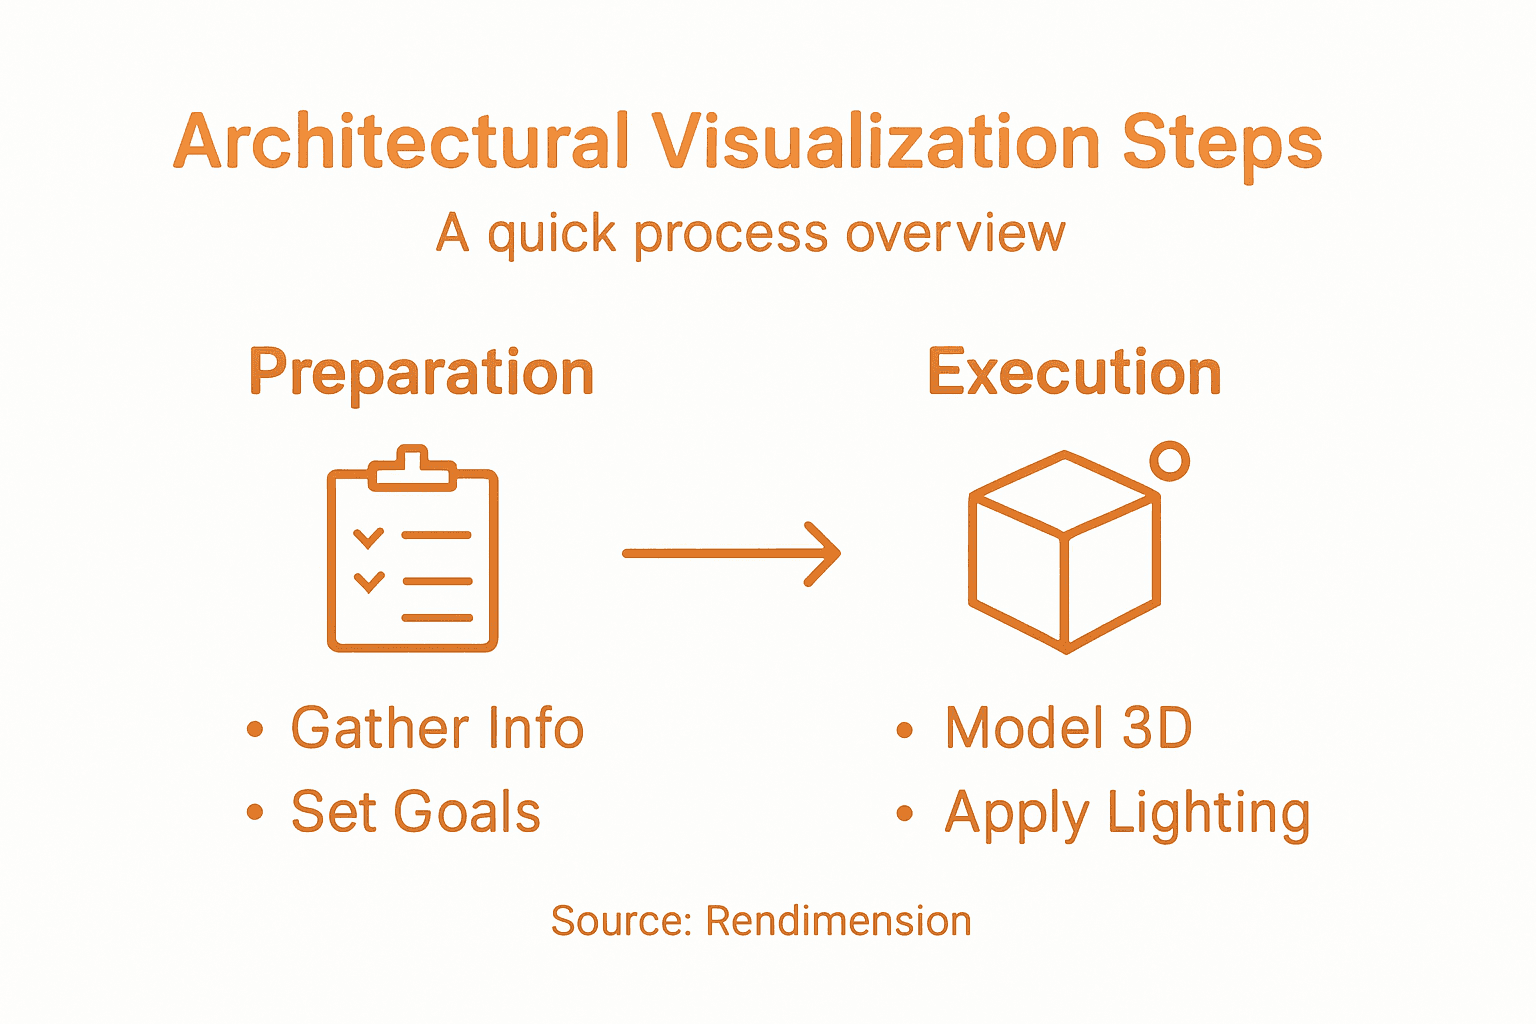
- Step 1: Gather Project Information And Set Goals
- Step 2: Build Accurate 3D Models
- Step 3: Apply Materials And Lighting
- Step 4: Render High-Quality Visuals
- Step 5: Review, Refine, And Deliver Final Output
Quick Summary
| Key Point | Explanation |
|---|---|
| 1. Clearly Define Project Goals | Start the visualization process by identifying client expectations and project specifications to create a focused framework. |
| 2. Master Your 3D Modeling Software | Proficiency in tools like Blender, AutoCAD, and SketchUp is essential for creating accurate and detailed models. |
| 3. Use Realistic Materials and Lighting | High-quality textures and proper lighting techniques enhance the photorealism of your 3D models, making them more impactful. |
| 4. Render Multiple Visual Versions | Experiment with different lighting and compositions in your renders to find the most effective visual narrative. |
| 5. Conduct Thorough Review and Refinement | Establish a systematic review process to ensure your visualizations meet quality standards and client expectations before delivery. |
Step 1: Gather Project Information and Set Goals
Successful architectural visualization starts with crystal-clear project goals and comprehensive information gathering. In this crucial first step, you will define the roadmap that transforms your design concept into a stunning visual representation.
Begin by conducting a thorough initial project assessment that covers multiple critical dimensions. Identifying specific project goals helps create a strategic framework for your visualization process. Your assessment should include:
- Client expectations and desired visual style
- Specific project requirements and constraints
- Target audience and presentation context
- Intended emotional and aesthetic impact
- Technical specifications and delivery format
During this phase, you will translate abstract design concepts into measurable objectives. Flowcharting project goals can help you map out the visualization journey with precision. Focus on creating objectives that are specific, measurable, and aligned with your client’s vision.
As you compile project information, develop a comprehensive brief that serves as your north star throughout the visualization process. This document will guide every subsequent decision and help maintain focus on your core project goals.
Pro tip: Always schedule an initial client consultation to validate and refine your project goals, ensuring alignment between your vision and their expectations.
Step 2: Build Accurate 3D Models
Building precise 3D models is the foundation of exceptional architectural visualization. This critical step transforms your initial project concept into a detailed digital representation that will bring your architectural vision to life.
To create accurate 3D models, you’ll need to master key architectural modeling software. Architectural design software enables precise 3D modeling by providing powerful tools for creating detailed architectural elements. Focus on developing your skills in industry-standard platforms like:
- Blender
- AutoCAD
- SketchUp
- Revit
- 3ds Max
Precision is the hallmark of professional architectural visualization. Every line, surface, and texture must reflect your design intent with absolute accuracy.
As you develop your model, pay close attention to critical modeling techniques. Break down complex structures into manageable components, starting with basic geometric forms and progressively adding intricate details. Generative AI technologies are now offering innovative ways to accelerate and refine your 3D modeling process, allowing for rapid iteration and creative exploration.

Consider the entire workflow of model creation. Begin with accurate floor plans, then build vertical elements, add architectural details, and refine surface textures. Ensure that each element maintains proper scale, proportion, and structural integrity.
Here is a summary comparing popular 3D modeling software for architectural visualization:
| Software | Strengths | Typical Use Cases |
|---|---|---|
| Blender | Open source, advanced tools | Photorealistic rendering |
| AutoCAD | Precise drafting, accuracy | Construction documents |
| SketchUp | User-friendly, fast modeling | Conceptual architectural work |
| Revit | BIM integration, parametric | Building lifecycle management |
| 3ds Max | High-end rendering, plugins | Detailed environments |
Pro tip: Always create a base model with clean, simple geometry before adding complex details, as this approach allows for easier modifications and maintains overall model performance.
Step 3: Apply Materials and Lighting
Materials and lighting transform your 3D model from a basic geometric representation into a photorealistic architectural visualization that captures the essence of your design. This critical stage breathes life and emotion into your digital scene.
Lighting fundamentals guide professional visualization by providing scientific principles for creating accurate and compelling visual environments. Focus on these key material and lighting techniques:
- Understand surface reflection properties
- Match real-world material characteristics
- Create depth through strategic light placement
- Simulate natural and artificial light sources
- Control shadow and highlight interactions
Realistic materials and lighting are the difference between a good render and an exceptional architectural visualization.
When applying materials, pay attention to texture resolution and detail. Architectural design techniques recommend using high-quality texture maps that accurately represent real-world surfaces like concrete, glass, wood, and metal. Experiment with different rendering settings to achieve the most realistic representation of your materials.
Consider the emotional impact of your lighting design. Soft, diffused light can create a sense of calm, while dramatic directional lighting can emphasize architectural features and create visual drama. Adjust light temperature, intensity, and direction to guide the viewer’s perception and highlight your design’s most compelling aspects.
Pro tip: Create multiple lighting scenarios and render test versions to understand how different light conditions dramatically transform the perception of your architectural space.
Step 4: Render High-Quality Visuals
The rendering process transforms your meticulously crafted 3D model into a stunning, photorealistic image that communicates your architectural vision with exceptional clarity and emotional impact. This final stage is where technical precision meets artistic expression.
Rendering techniques create architectural realism by combining technical expertise with creative insight. Pay attention to these critical rendering strategies:
- Select the appropriate rendering engine
- Optimize render settings for quality and performance
- Control camera angles and composition
- Fine-tune lighting and color balance
- Implement post-processing effects
A masterful render tells a story, transforming geometric data into a compelling visual narrative that speaks directly to the viewer’s imagination.
Advanced rendering settings can dramatically enhance your visual output. Blender’s rendering capabilities offer powerful tools like path tracing and real-time rendering engines that allow for unprecedented levels of detail and realism. Experiment with different render engines like Cycles for unbiased, photorealistic results and EEVEE for faster, real-time previews.
Consider the emotional and narrative qualities of your render. Camera positioning, light temperature, and subtle atmospheric effects can transform a technical representation into a powerful visual story that communicates the soul of your architectural design.
Pro tip: Always render multiple versions with slight variations in lighting and composition, giving yourself options to select the most impactful and communicative visual representation.
Step 5: Review, Refine, and Deliver Final Output
The final stage of architectural visualization transforms your technical rendering into a polished, professional deliverable that communicates your design with precision and emotional resonance. This critical phase bridges the gap between creative vision and client expectations.
Collaborative review processes ensure your visualization meets project objectives and stakeholder requirements. Implement a systematic approach to reviewing and refining your architectural render:
- Conduct a comprehensive visual quality check
- Compare render against original design intent
- Solicit objective feedback from peers
- Evaluate technical and aesthetic details
- Prepare multiple output formats
A truly exceptional architectural visualization tells a story beyond mere technical representation.
Final refinement techniques play a crucial role in elevating your visualization. Architectural visualization requires iterative refinement to enhance storytelling and visual impact. Pay attention to nuanced details like human scale, vegetation placement, and subtle atmospheric effects that bring your render to life.
During the delivery process, consider your client’s specific needs. Prepare high-resolution files, compressed web versions, and potentially interactive presentations that showcase your visualization from multiple perspectives. Ensure your final output maintains the highest quality across different viewing platforms and devices.
Below is a reference table outlining output types and their best application:
| Output Format | Best For | Key Benefit |
|---|---|---|
| High-res Still Images | Print, presentations | Maximum visual quality |
| Web Compressed Files | Online portfolios, sharing | Fast loading, accessibility |
| Interactive 3D Models | Client presentations, walkthroughs | Immersive exploration |
Pro tip: Create a standardized review checklist that includes technical specifications, aesthetic criteria, and client-specific requirements to ensure consistent, high-quality deliverables.
Elevate Your Architectural Visualization with Expert 3D Solutions
Achieving stunning architectural visualization requires mastering every step from precise 3D modeling and realistic lighting to flawless rendering and detailed refinement. If you find yourself challenged by the complexity of creating photorealistic visuals that truly capture your design intent and client expectations, Rendimension is here to help. We understand the importance of accurate models, lifelike materials, and strategic lighting to bring your architectural concepts to life with emotional impact and technical precision.
Our team specializes in professional 3D renderings, immersive walkthroughs, and virtual reality experiences tailored to showcase your project exactly as you envision it. With over 1,000 projects completed worldwide, we collaborate closely with architects, developers, and design professionals to ensure every detail aligns with your goals. Discover how Rendimension can transform your ideas into powerful visual stories that persuade stakeholders and energize presentations.

Take the next step toward remarkable architectural presentations by visiting Rendimension. Explore our full range of architectural visualization services and see how expert 3D design elevates your project from concept to captivating final output. Don’t wait to impress clients and accelerate decision-making with high-quality visual solutions designed for your success.
Frequently Asked Questions
What are the first steps in architectural visualization?
Successful architectural visualization begins with gathering comprehensive project information and setting clear goals. Start by assessing client expectations, specific project requirements, and the intended emotional impact to create a focused project brief.
How can I create accurate 3D models for architectural visualization?
To create accurate 3D models, master key architectural modeling software and focus on precise modeling techniques. Break down complex structures into simple geometric forms, and progressively add details to ensure every element reflects your design intent.
What materials and lighting techniques should I use in my visualization?
Using realistic materials and effective lighting techniques is crucial for creating compelling architectural visualizations. Apply high-quality texture maps to represent surfaces accurately and adjust light placement to enhance the emotional tone of your scene.
What strategies will help me render high-quality visuals?
To render high-quality visuals, select the appropriate rendering engine and optimize your render settings for both quality and performance. Control camera angles and composition while fine-tuning lighting and color balance to elevate the emotional impact of your final image.
How do I review and refine my architectural visualization before delivery?
Conduct a thorough review of your visualization by checking visual quality against the original design intent and soliciting feedback from peers. Prepare multiple output formats, such as high-resolution images and interactive models, to meet your client’s specific needs and ensure a polished final product.
Recommended
- Transform Architecture With Advanced 3D Rendering : Rendimension
- High Quality 3D Rendering And Architectural Visualization
- How To Find The Best Architectural Rendering Services
- Architectural Visualization Services In Miami: Rendimension
- How to Create Architectural Drawings for Your Project – FloridaLicensedEngineers.com