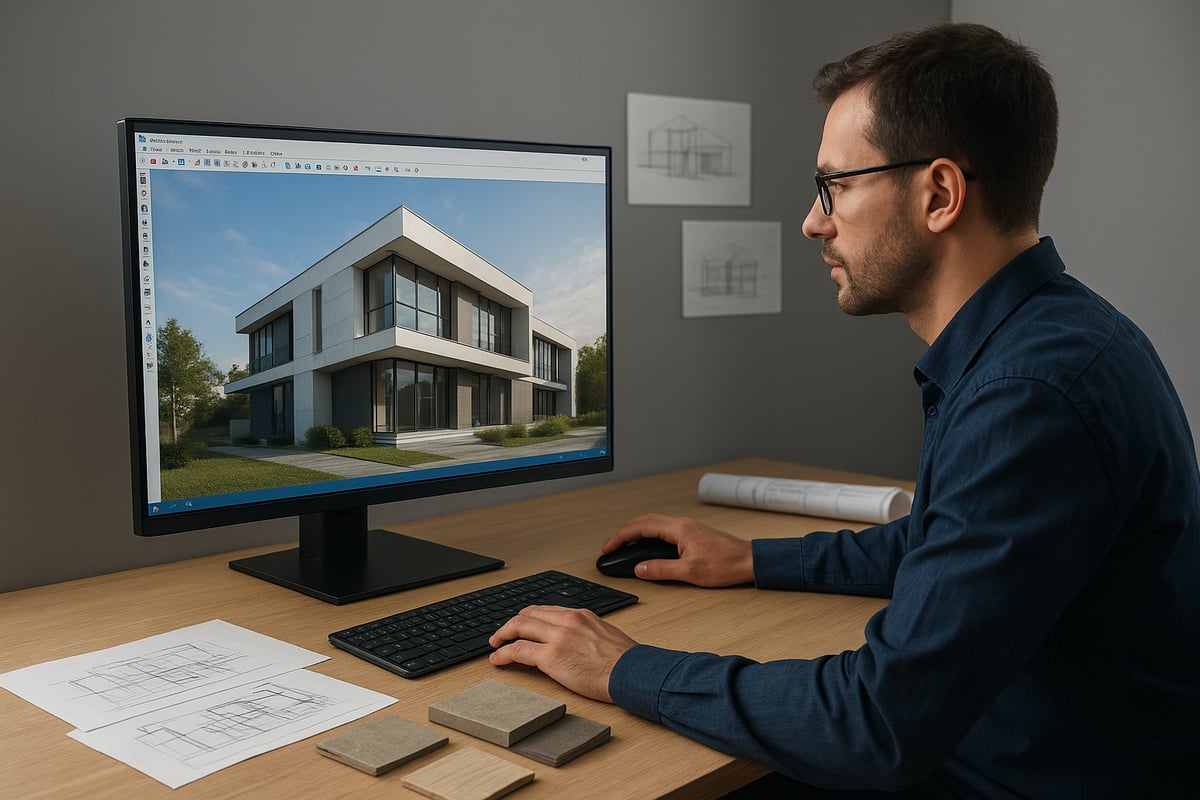
3D visualization is changing rapidly, transforming how designers, architects, and real estate professionals present their ideas. The demand for lifelike renders is at an all-time high, making sketchup 3d rendering an essential skill for anyone aiming to impress clients and stakeholders.
This guide delivers a comprehensive overview of SketchUp’s latest 3D rendering tips and techniques for 2026. You will discover new features, recommended plugins, workflow strategies, material and lighting methods, and future trends.
Struggling to achieve high-quality renders? This roadmap will help you master SketchUp rendering, overcome common challenges, and create visuals that truly stand out.
Understanding 3D Rendering in SketchUp
The world of design has been transformed by 3D rendering, a process that converts digital models into lifelike images or animations. In architecture, interior design, and visualization, this technology bridges the gap between imagination and reality. If you are new to the concept, What is 3D Rendering offers a comprehensive introduction to its core principles. For professionals and clients alike, sketchup 3d rendering delivers clarity, helping stakeholders visualize projects before they are built.
Unlike basic modeling tools, sketchup 3d rendering introduces lighting, materials, and camera perspectives to create realistic scenes. While SketchUp’s modeling interface focuses on geometry and spatial relationships, its rendering features simulate how light interacts with surfaces. This distinction is crucial: rendering turns conceptual models into compelling visuals that communicate design intent with precision.
SketchUp’s rendering capabilities have evolved rapidly. The 2026 release introduces real-time previews, AI-powered material suggestions, and enhanced integration with popular rendering engines. These improvements streamline workflows and increase realism. Users can now experiment with lighting and materials more intuitively, making sketchup 3d rendering accessible to both beginners and seasoned professionals.
The impact of high-quality sketchup 3d rendering extends to every stage of the design process. Realistic images improve client presentations, speed up approvals, and elevate marketing materials. Industries from architecture to product design rely on these visuals to stand out in a competitive market. However, rendering also brings challenges: balancing speed and realism, managing hardware limitations, and selecting the right tools.
| Rendering Approach | Features | Best For |
|---|---|---|
| Native SketchUp Rendering | Fast previews, basic realism | Early concepts, quick edits |
| Third-party Plugins | Photorealism, animation, VR | Final presentations, marketing |
Industry data shows that the adoption of 3D rendering software continues to rise as firms seek more immersive ways to communicate ideas. With the right strategies, sketchup 3d rendering can become a cornerstone of any modern design workflow.
Essential Rendering Tools and Plugins for SketchUp 2026
Selecting the right tools for sketchup 3d rendering is crucial for producing high-quality, photorealistic visuals. With SketchUp 2026, users can access a range of built-in features and powerful plugins, all designed to streamline the rendering process and deliver professional results. Understanding these options allows you to build an efficient workflow tailored to your project needs.
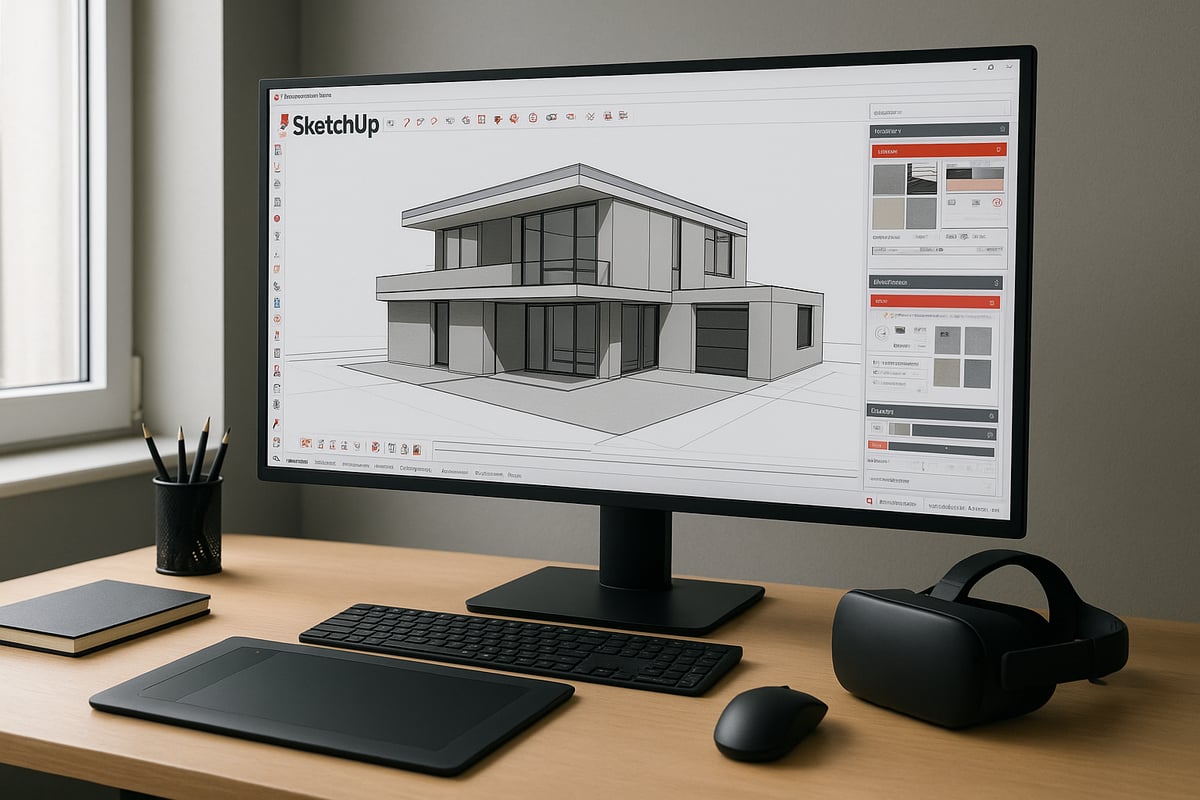
Native Rendering Features in SketchUp 2026
SketchUp 2026 delivers significant upgrades to its native rendering engine, making sketchup 3d rendering more accessible and powerful for everyday users. The updated engine now supports real-time rendering, allowing instant visual feedback as you adjust materials, lighting, or camera angles. This real-time capability accelerates design iterations and helps refine concepts on the fly.
AI-assisted tools are also integrated, offering automated material suggestions and lighting presets. These features reduce manual setup time and improve consistency across your renders. The new user interface is more intuitive, with streamlined controls for material editing, scene management, and export settings.
One standout improvement is the faster preview rendering, which lets you quickly test different design options without long wait times. For a complete list of enhancements, refer to the official SketchUp 2026 release notes.
Top Third-Party Rendering Plugins
While native tools are robust, third-party plugins remain essential for advanced sketchup 3d rendering workflows. Leading options in 2026 include V-Ray, Enscape, Lumion, and Twinmotion, each offering unique strengths for different project types.
| Plugin | Key Features | Best For | 2026 Updates |
|---|---|---|---|
| V-Ray | Photorealistic output, advanced materials, GPU acceleration | Exteriors, interiors | Improved AI denoising, material editor |
| Enscape | Real-time visualization, VR integration | Walkthroughs, VR | Enhanced real-time lighting |
| Lumion | Fast rendering, animation tools, landscape | Exteriors, animations | New vegetation assets, GPU boost |
| Twinmotion | Real-time, easy animation, cloud sharing | Presentations, VR | Upgraded cloud collaboration |
V-Ray's advanced material editor allows precise control over textures, reflectivity, and lighting for true-to-life visuals. Enscape now features seamless VR integration, enabling immersive client presentations. Lumion and Twinmotion focus on speed and ease-of-use, making them ideal for rapid visualization and animation.
When choosing a plugin, consider compatibility and system requirements for 2026. Most require a modern GPU and sufficient RAM to handle complex scenes. Each plugin supports different file formats and features, so review technical documentation before investing.
Choosing the Right Rendering Tool for Your Needs
Selecting the best sketchup 3d rendering solution depends on several factors. Start by considering your budget, as plugin pricing varies from free options to premium licenses. Assess your project scale—small residential designs may only need basic tools, while large commercial projects benefit from advanced plugins.
Hardware is another key consideration. High-resolution renders and real-time previews demand powerful processors and graphics cards. Review the official requirements for both your chosen plugin and SketchUp itself.
Balance the learning curve with your team's expertise. Some plugins offer user-friendly interfaces, while others require in-depth training. Weigh the pros and cons of cloud-based versus local rendering. Cloud solutions offer scalability and remote collaboration, while local rendering provides more control over hardware resources.
If you manage multiple project types, integrating several plugins into your workflow can maximize flexibility. For example, a small firm might use Enscape for fast visualizations, while an enterprise could combine V-Ray for photorealism with Twinmotion for VR presentations.
Optimizing the Rendering Workflow in SketchUp
Achieving exceptional results with sketchup 3d rendering starts long before you press the render button. A streamlined workflow not only saves time but also ensures your visuals are both realistic and technically sound.
In this section, you will discover how to prepare your models, set up cameras, manage materials, and leverage the latest rendering automation tools. By following these best practices, you can avoid common pitfalls and produce renders that impress every time.
Preparing Your SketchUp Model for Rendering
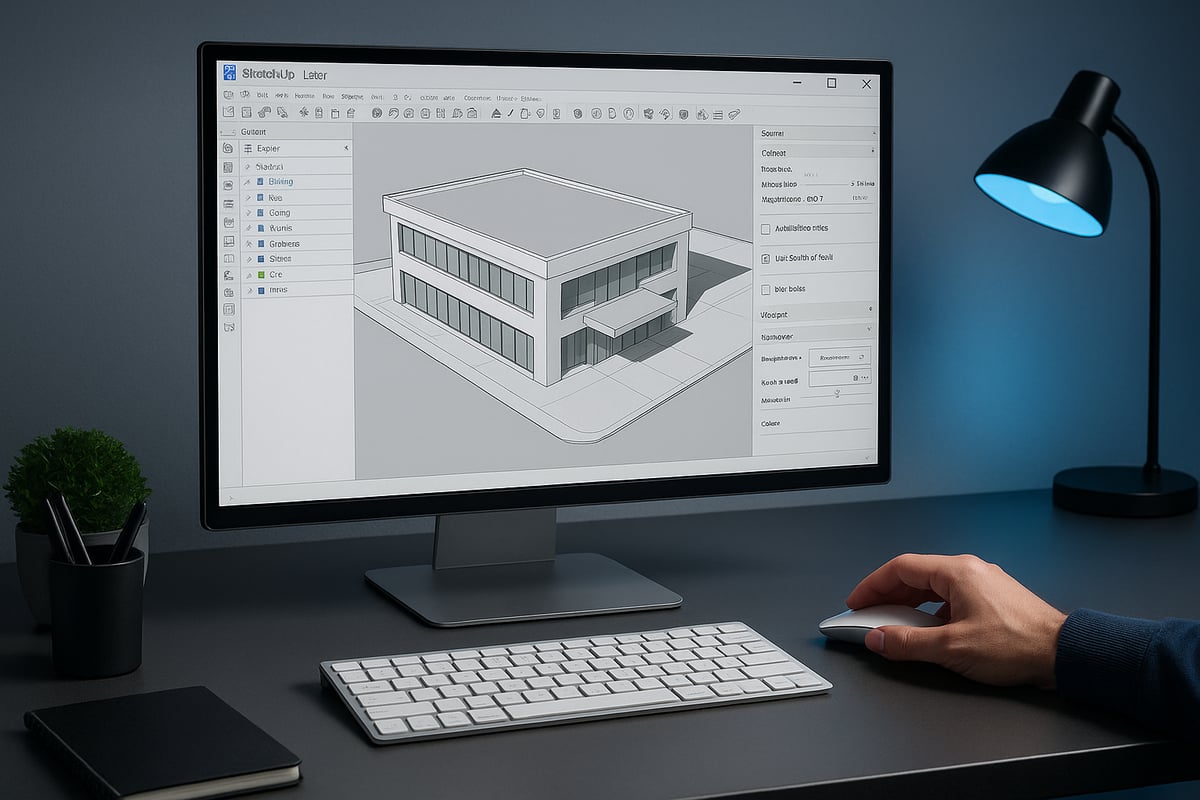
The foundation of professional sketchup 3d rendering is a well-organized model. Start by meticulously grouping geometry and using components for repetitive elements. This practice makes it easier to manage and update your project as it evolves.
Utilize tags and scenes for efficient navigation. Tags let you isolate elements like furniture, lighting, or landscaping, which helps when making adjustments or exporting layers for post-processing. Scenes are invaluable for setting up multiple camera views or batch rendering.
Keep your model lean by removing unnecessary geometry, hidden edges, and unused components. Large, cluttered files slow down both SketchUp and your rendering engine. Use the "Purge Unused" function frequently to maintain optimal performance.
Scale and orientation matter. Ensure your model is correctly scaled and aligned to true north for accurate sunlight simulations. Pay attention to origin placement, especially when importing from other CAD platforms.
A clean model also simplifies texture mapping and lighting later on. Investing time in organization at this stage will pay dividends throughout your sketchup 3d rendering workflow.
Setting Up Cameras and Composition
Camera placement can make or break your final render. In sketchup 3d rendering, position your cameras to highlight your design’s best features. Use the rule of thirds to create balanced, visually appealing compositions.
Experiment with field of view settings to avoid distortion. For interiors, a wider field can capture more space, but be cautious not to exaggerate proportions. For exteriors, natural perspectives often look more realistic.
Leverage leading lines, symmetry, and focal points to guide the viewer’s eye. Try creating multiple scenes for different perspectives—this enables quick batch rendering and helps you showcase your project from every angle.
A well-composed camera setup not only enhances storytelling but also speeds up client approvals by presenting your ideas in their best light.
Managing Materials and Textures
Materials are central to photorealism in sketchup 3d rendering. Apply high-resolution, seamless textures to key surfaces. For example, using a detailed wood grain or stone pattern can elevate the authenticity of your render.
Adjust material properties like reflectivity, bump maps, and transparency. Glass and metal finishes benefit from fine-tuning these settings. Experiment with roughness and glossiness to match real-world surfaces.
Organize your material library for efficiency. Group similar materials and use naming conventions to quickly locate and update assets. This practice is especially valuable in large projects where consistency is key.
If you want to dive deeper into the practical side of materials and workflow, the 3D Visualization & Rendering Guide offers actionable tips tailored to SketchUp users.
Mastering textures and material settings is essential for creating compelling, lifelike results in any sketchup 3d rendering project.
Streamlining the Rendering Process
Modern plugins for sketchup 3d rendering offer robust features to automate and accelerate your workflow. Batch rendering lets you process multiple scenes or views with a single click, saving valuable time on large projects.
Take advantage of AI-powered denoising and smart presets. These tools analyze your scene and optimize settings for quality and speed, reducing the need for manual adjustments.
Scene management features, such as render queues and template setups, further streamline the process. By standardizing your workflow, you ensure consistent results across all your renders.
Ultimately, a well-optimized workflow frees you to focus on creativity and design, rather than troubleshooting technical issues in sketchup 3d rendering.
Advanced Materials, Lighting, and Environment Techniques
Achieving photorealism in sketchup 3d rendering requires mastery over materials, lighting, and environmental effects. These advanced techniques elevate visuals, ensuring designs not only look impressive but also communicate intent with precision. Let’s break down expert strategies for each key area.
Mastering Materials in SketchUp Rendering
In sketchup 3d rendering, materials are the foundation of realism. Start by using physically based rendering (PBR) workflows to create custom surfaces. PBR materials rely on maps like albedo, normal, roughness, and displacement to simulate how light interacts with surfaces.
For instance, applying a high-quality wood texture with a normal map brings out the grain, while a roughness map controls sheen. Displacement maps add depth, making stone or brick appear tactile. Leveraging procedural textures allows for infinite variation, saving time and memory.
Organize your material library by category—woods, metals, glass, and fabrics. This speeds up workflow and ensures consistency. Many designers use advanced plugins for material editing, such as V-Ray for SketchUp features, which offers a robust material editor and supports real-time previews.
When aiming for photorealistic results, always check scale and orientation. A wood grain running in the wrong direction can break immersion. Test materials under different lighting to ensure they behave realistically in every scenario.
Lighting Techniques for Realism
Lighting is the engine driving realism in sketchup 3d rendering. Begin with natural sunlight using SketchUp’s geolocation and time-of-day tools. Adjust the sun’s position for dramatic shadows or soft, diffused daylight. For interiors, combine sunlight with artificial lights like spotlights, area lights, and point lights.
High Dynamic Range Images (HDRI) create immersive environments by wrapping your scene in a 360-degree sky, delivering nuanced reflections and ambient light. Use IES profiles for lighting fixtures to replicate real-world bulb behavior, crucial for hospitality or retail spaces.
Balance is key—avoid overexposed highlights or deep shadows that obscure details. Adjust intensity and color temperature for each light source. For a cozy interior, warm color temperatures and soft shadows enhance atmosphere.
Batch rendering multiple lighting scenarios is a time-saver. This lets you compare daylight, dusk, and night scenes, ensuring your sketchup 3d rendering works in all conditions. Experiment with light placement and layering to guide the viewer’s eye through the composition.
Environmental Effects and Context
Environmental context breathes life into sketchup 3d rendering, placing your design in a believable setting. Start by adding backgrounds or skyboxes with realistic skies, clouds, or urban landscapes. This frames your model and adds depth.
Simulate weather with fog, rain, or snow effects to evoke mood. For exteriors, landscaping is essential—integrate trees, shrubs, and site details for scale and realism. Use georeferencing to match real-world locations, aligning sunlight and shadows accurately.
Consider atmospheric perspective by fading distant elements and adding subtle haze. This technique enhances realism in large-scale scenes. For urban projects, include vehicles, people, and street furniture to ground your design in reality.
Efficiently manage these elements using layers and tags. This keeps your sketchup 3d rendering organized and allows quick toggling of environmental details for different presentations.
Post-Processing and Enhancements
Post-processing is the polish that transforms good sketchup 3d rendering into stunning visual storytelling. Use built-in tools or external software like Photoshop and Lightroom for final adjustments.
Start by correcting exposure and contrast, then move to color grading for mood. Subtle tweaks in saturation and temperature can dramatically shift perception. Lens effects—such as bloom, glare, and depth of field—add cinematic quality. For instance, a slight blur on distant elements mimics real camera focus.
Use masks to enhance specific areas, drawing attention to key features. Add vignettes or soft gradients for a professional finish. Always review at full resolution to catch artifacts or noise.
Keep a consistent enhancement style across all renders. This ensures your sketchup 3d rendering portfolio looks cohesive and polished, making a strong impression in any presentation.
Rendering for Different Project Types: Best Practices
Bringing concepts to life with sketchup 3d rendering requires tailored strategies for each project type. Whether you are developing a striking building exterior, designing an inviting interior, showcasing a product, or crafting immersive animations, following best practices ensures your visuals resonate with clients and stakeholders.
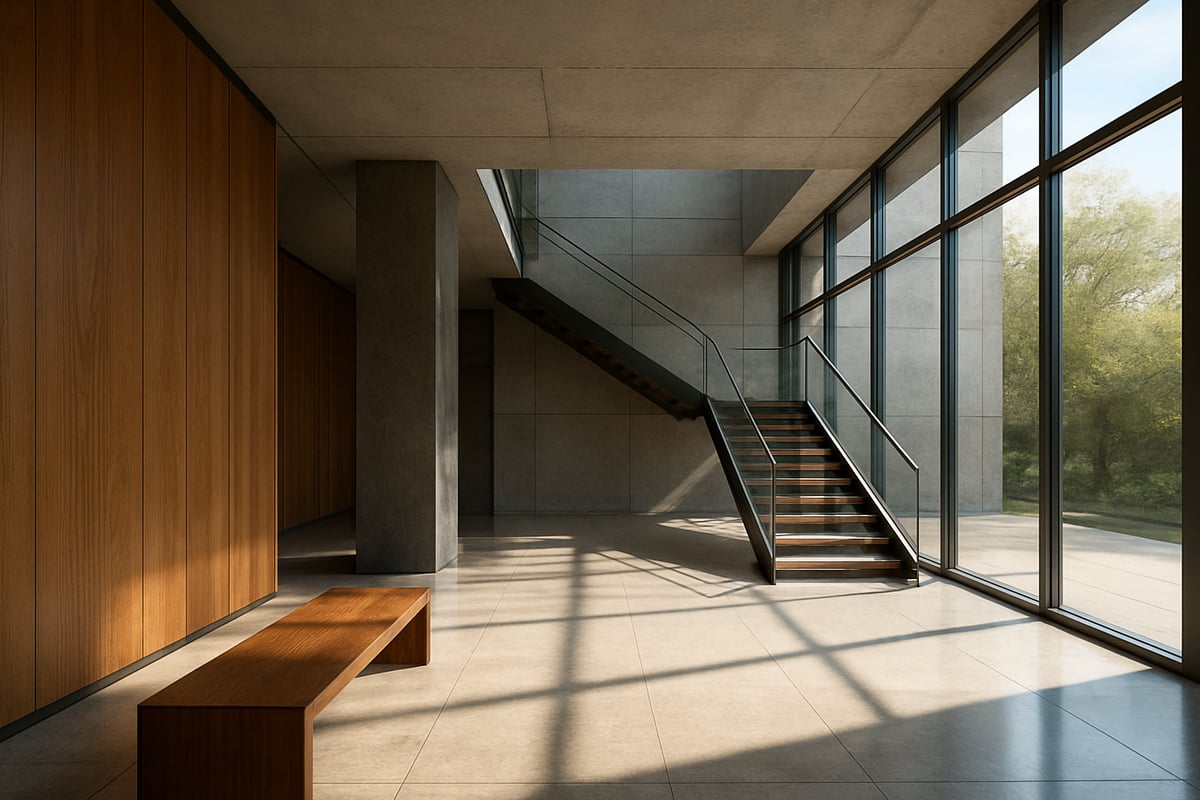
Architectural Exteriors
For architectural exteriors, sketchup 3d rendering plays a crucial role in communicating design intent. Start by modeling the surrounding context, including streets, vegetation, and neighboring structures. Realistic landscaping, accurate sun studies, and thoughtful lighting placement make your building blend naturally into its environment.
When setting up your scene, use high-resolution textures for facades, glass, and ground surfaces. Adjust the time of day to highlight architectural features and create dynamic shadows. By leveraging plugins that support photorealistic rendering, you can achieve stunning results suitable for client presentations and marketing.
A practical example is showcasing a commercial building in a vibrant urban setting, complete with animated people and vehicles. For deeper insight into how these visuals impact client engagement and project outcomes, visit How 3D Rendering Transforms Architecture.
Remember, clean model organization and efficient use of components streamline the rendering process. This approach not only enhances realism but also helps you manage large-scale projects with confidence. Integrating sketchup 3d rendering into your workflow elevates every phase of architectural visualization.
Interior Visualization
Interior visualization benefits immensely from sketchup 3d rendering. Focus first on balanced lighting, combining natural daylight with artificial sources like spotlights and lamps. Use layered materials for walls, floors, and furnishings, adjusting reflectivity and bump maps for added realism.
Furniture arrangement should guide the viewer’s eye, following principles like the rule of thirds or leading lines. For example, rendering a cozy living room with soft shadows and warm ambient light can evoke a sense of comfort and invitation. Batch rendering multiple scenes helps you present different lighting moods or furniture layouts efficiently.
To further improve your workflow, maintain a well-organized material library and keep textures seamless. Sketchup 3d rendering enables designers to experiment quickly, visualize options, and communicate ideas clearly to clients.
Product Visualization
Product visualization with sketchup 3d rendering excels when the object is isolated against a clean, neutral background. Use studio lighting setups, such as three-point lighting, to emphasize the product’s form and material qualities.
Apply high-resolution textures and adjust reflectivity for surfaces like metal, glass, or plastic. An example might include rendering a consumer electronics prototype with crisp edges and subtle highlights, perfect for marketing presentations or online catalogs.
Sketchup 3d rendering makes it easy to switch colors, materials, and backgrounds, helping you iterate rapidly and produce compelling visuals for product launches.
Animation and Virtual Reality
Creating animated walkthroughs and VR experiences with sketchup 3d rendering demands a structured workflow. Start by preparing your model for animation, organizing scenes for smooth camera transitions, and optimizing geometry for real-time playback.
For animation, use keyframes to guide movement through spaces, highlighting important design features. Preparing for VR involves simplifying models, ensuring all textures are optimized, and setting up 360-degree views.
A compelling example is an interactive real estate tour, where clients can explore properties virtually. With sketchup 3d rendering, these immersive experiences become practical tools for marketing and decision-making.
Emerging Trends and Future-Proofing Your Rendering Skills
The world of sketchup 3d rendering is advancing rapidly, with new technologies and workflows emerging each year. Staying ahead means not just mastering current tools but also embracing the trends shaping tomorrow’s visualizations. In this section, you will discover innovations that are redefining rendering, from automation to sustainability, and find actionable tips to keep your skills relevant.
To further explore where the industry is heading, you can refer to the Future of 3D Rendering for additional insights into what's next.
AI and Automation in Rendering
AI is transforming sketchup 3d rendering by automating time-consuming tasks and improving rendering speed. Intelligent algorithms can now analyze your scene and suggest optimal lighting, materials, and camera angles. This means less manual tweaking and more time focusing on creativity.
Predictive rendering is gaining traction, delivering instant previews and real-time feedback as you adjust your models. AI-based denoising tools clean up noisy images, reducing the need for long render times. For example, some plugins can automatically assign materials based on your model’s geometry, accelerating workflow for both beginners and professionals.
With automated scene setup, AI can optimize render settings tailored to your hardware and project requirements. This innovation ensures that even complex scenes in sketchup 3d rendering are rendered efficiently without sacrificing quality.
Real-Time and Cloud Rendering
Real-time rendering is revolutionizing how designers interact with their models. In sketchup 3d rendering, real-time engines let you see changes instantly, making design decisions more interactive and collaborative. Cloud rendering services further extend this by offering powerful remote resources that process high-quality renders without the need for expensive local hardware.
Teams can now collaborate on projects from different locations, reviewing renders together in real time. This approach is especially valuable for large-scale projects or when rapid feedback is crucial. According to 3D rendering software market analysis, adoption of these technologies is accelerating, driven by the demand for faster turnaround and scalability.
Cloud platforms also offer flexible pricing models, allowing firms to scale rendering capacity as needed. These advances are making sketchup 3d rendering more accessible and efficient for studios of any size.
Sustainability and Green Visualization
Sustainability is a growing priority in sketchup 3d rendering. Designers are now leveraging visualization tools to assess energy performance, daylight exposure, and the use of eco-friendly materials in their projects. Rendering software can simulate natural lighting and analyze solar gain, supporting environmentally conscious design choices.
Many plugins include libraries of sustainable materials and enable daylight analysis, helping architects and designers visualize green solutions. For example, rendering solar panels or green roofs in context makes it easier to communicate sustainable features to clients and stakeholders.
By integrating these capabilities, sketchup 3d rendering not only produces stunning visuals but also supports responsible design, aligning with global trends in sustainability.
Upskilling and Community Resources
Continuous learning is essential for staying competitive in sketchup 3d rendering. Numerous online courses, webinars, and certification programs are available, focusing on both foundational skills and the latest advancements in rendering technology.
Participating in forums and user communities provides valuable opportunities to share knowledge, troubleshoot issues, and discover new plugins or workflow hacks. Many professionals recommend joining SketchUp-specific groups, where you can access peer support and industry news.
Investing time in upskilling ensures you stay current with emerging trends, whether that means mastering AI-powered tools or adopting new sustainable visualization techniques. Keeping your sketchup 3d rendering skills sharp will future-proof your work and open doors to new opportunities.
Article written using RankPill.
